Showing posts with label Scrap Stack Projects. Show all posts

Thursday, March 29, 2018

Scrappy Apples Mini Quilt + Spelling Bee Book

I did a little just-for-fun sewing this week.  After working on some larger and more time consuming projects, it was really nice to work on a quicker project.  It feels good to start and finish a project within a day or two!


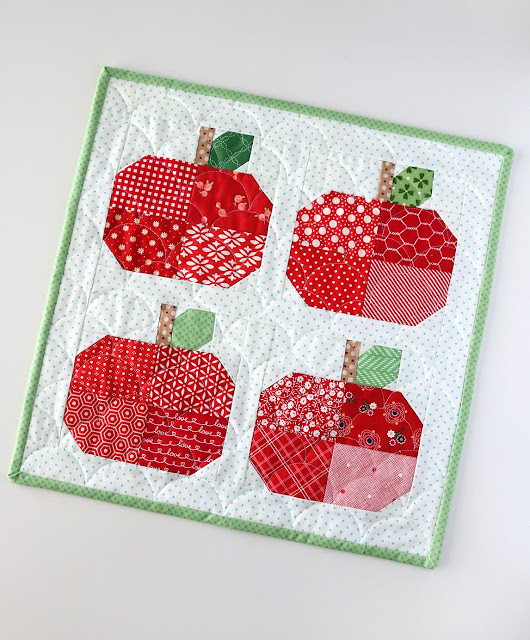
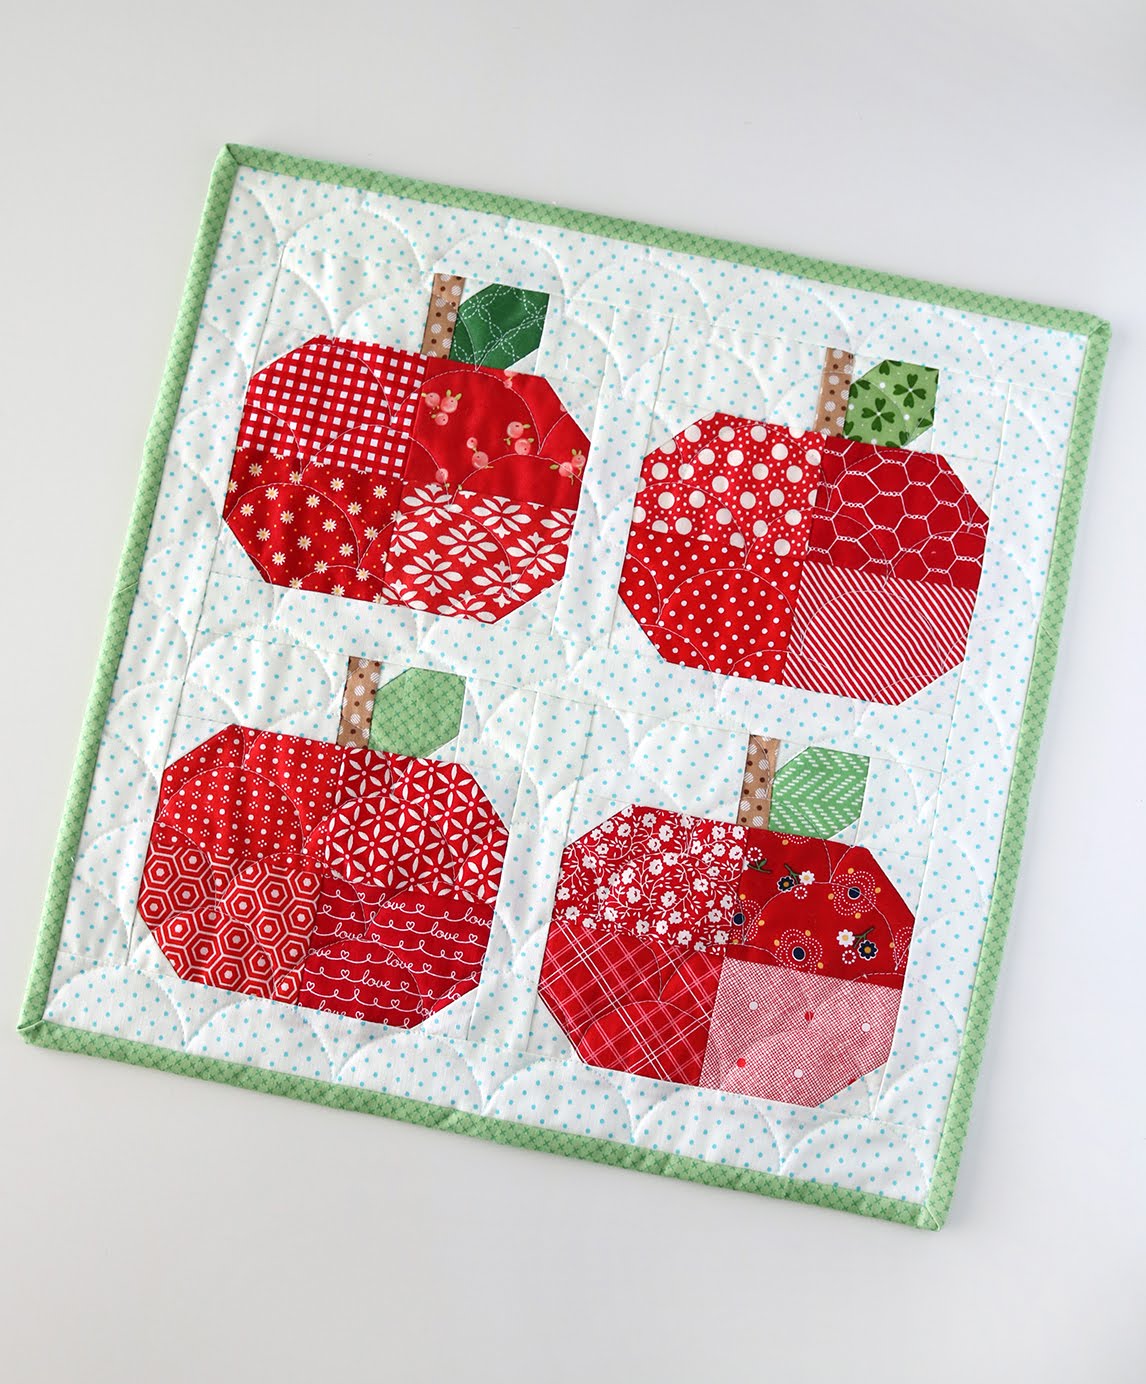
Scrappy Apples mini quilt by Andy of A Bright Corner

This is Scrappy Apples - a little mini quilt that I made for my wall (15" x 15").    I spotted a little apple block in the Spelling Bee book by Lori Holt and I thought it would make a great mini quilt.  
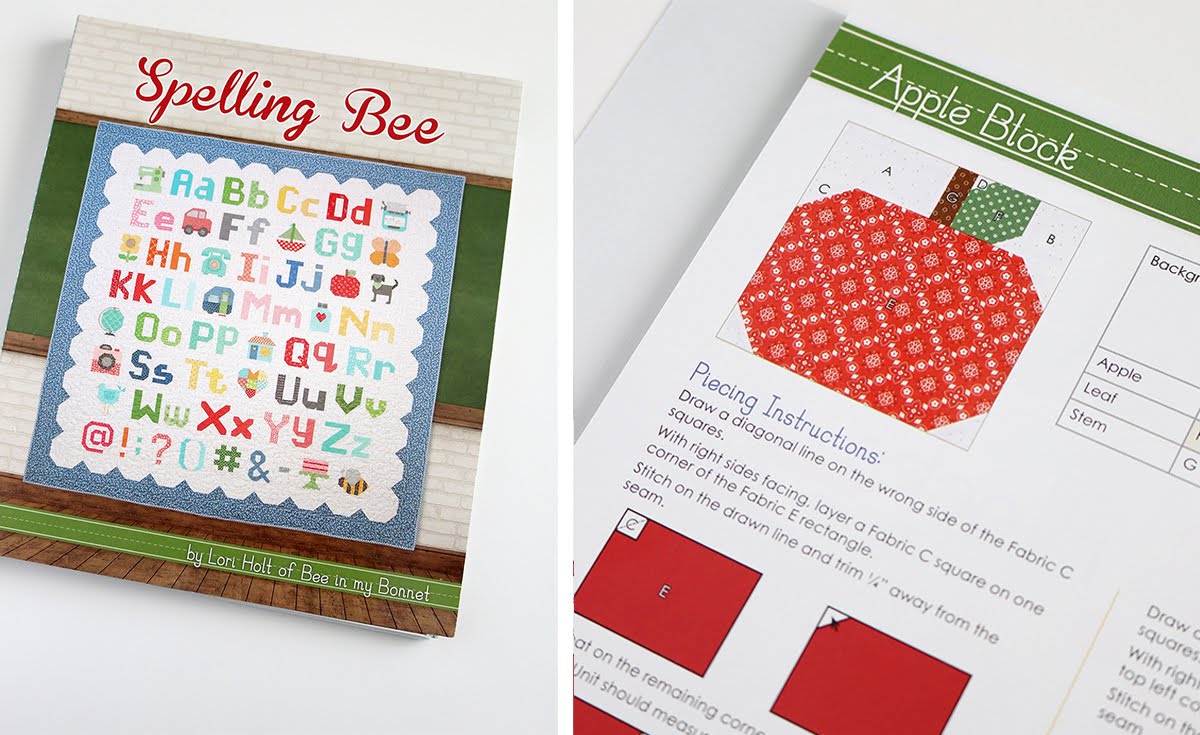

Spelling Bee book by Lori Holt

I decided to make four little 6" blocks - and I wanted to make them scrappy (I'll take any opportunity to add scraps into a project!)
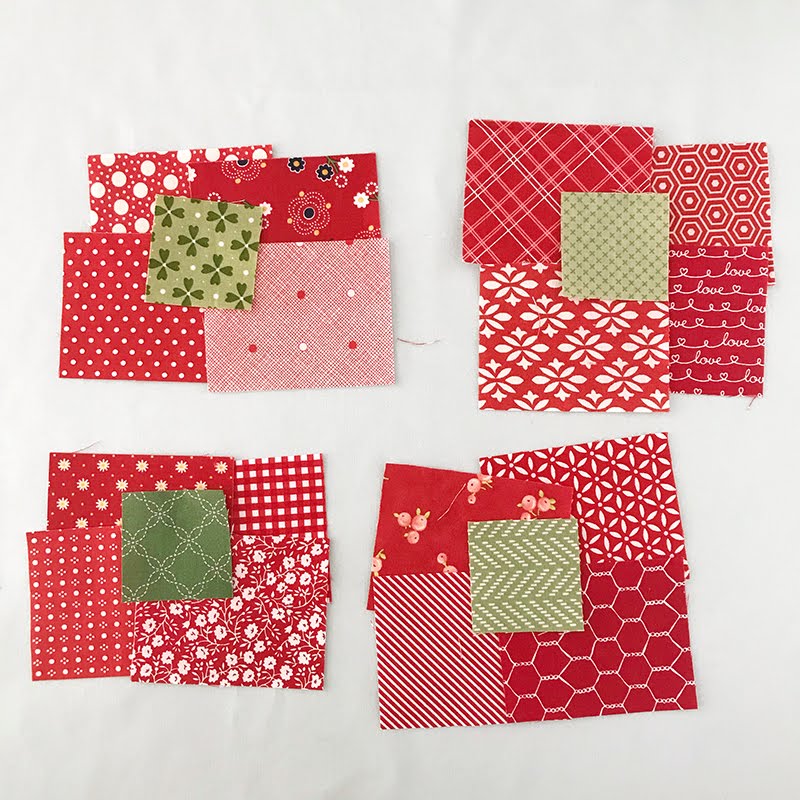
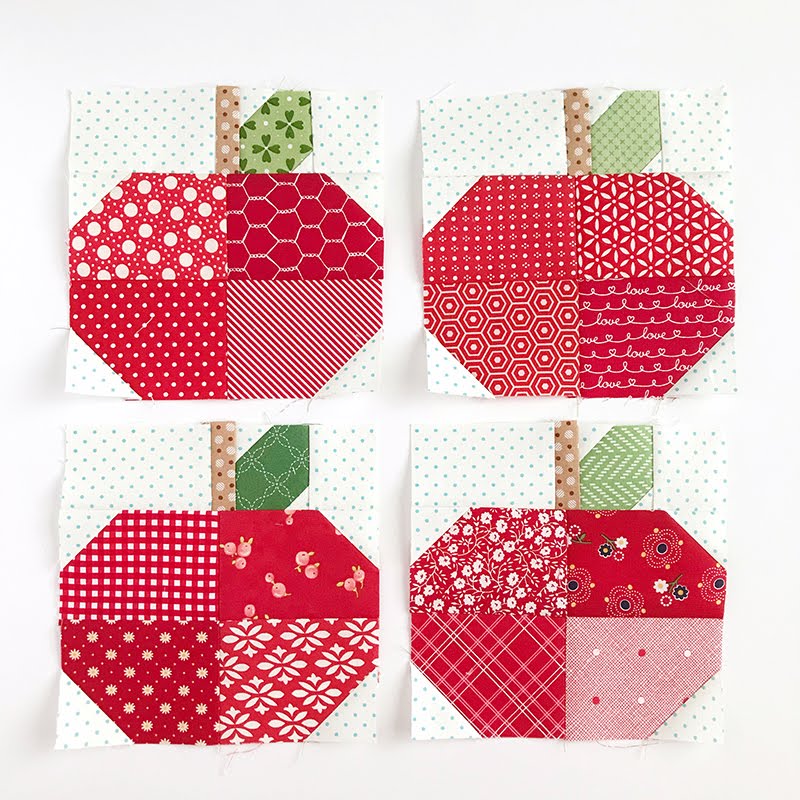
Cute red scraps found at A Bright Corner blog.  You have to see what she did with them!


Scrappy Apples mini quilt by Andy of A Bright Corner

I usually struggle deciding how to quilt a mini quilt and this was the case again with the mini apples.  I didn't want the quilting to overpower the apples, but I wanted it to "go" with the look of the mini.  

I ended up doing some small scalloped quilting (a.k.a. clam shell quilting).  I found a small circle template that was the perfect size!  It was one of the Sew Simple Shapes from Lori Holt.  The lines on the template helped me to keep my lines of scallops straight as I went.  I used my water soluble marking pen to draw one row of scallops, then I would quilt that one row.  Then I'd trace a second row and quilt that, and so on.   
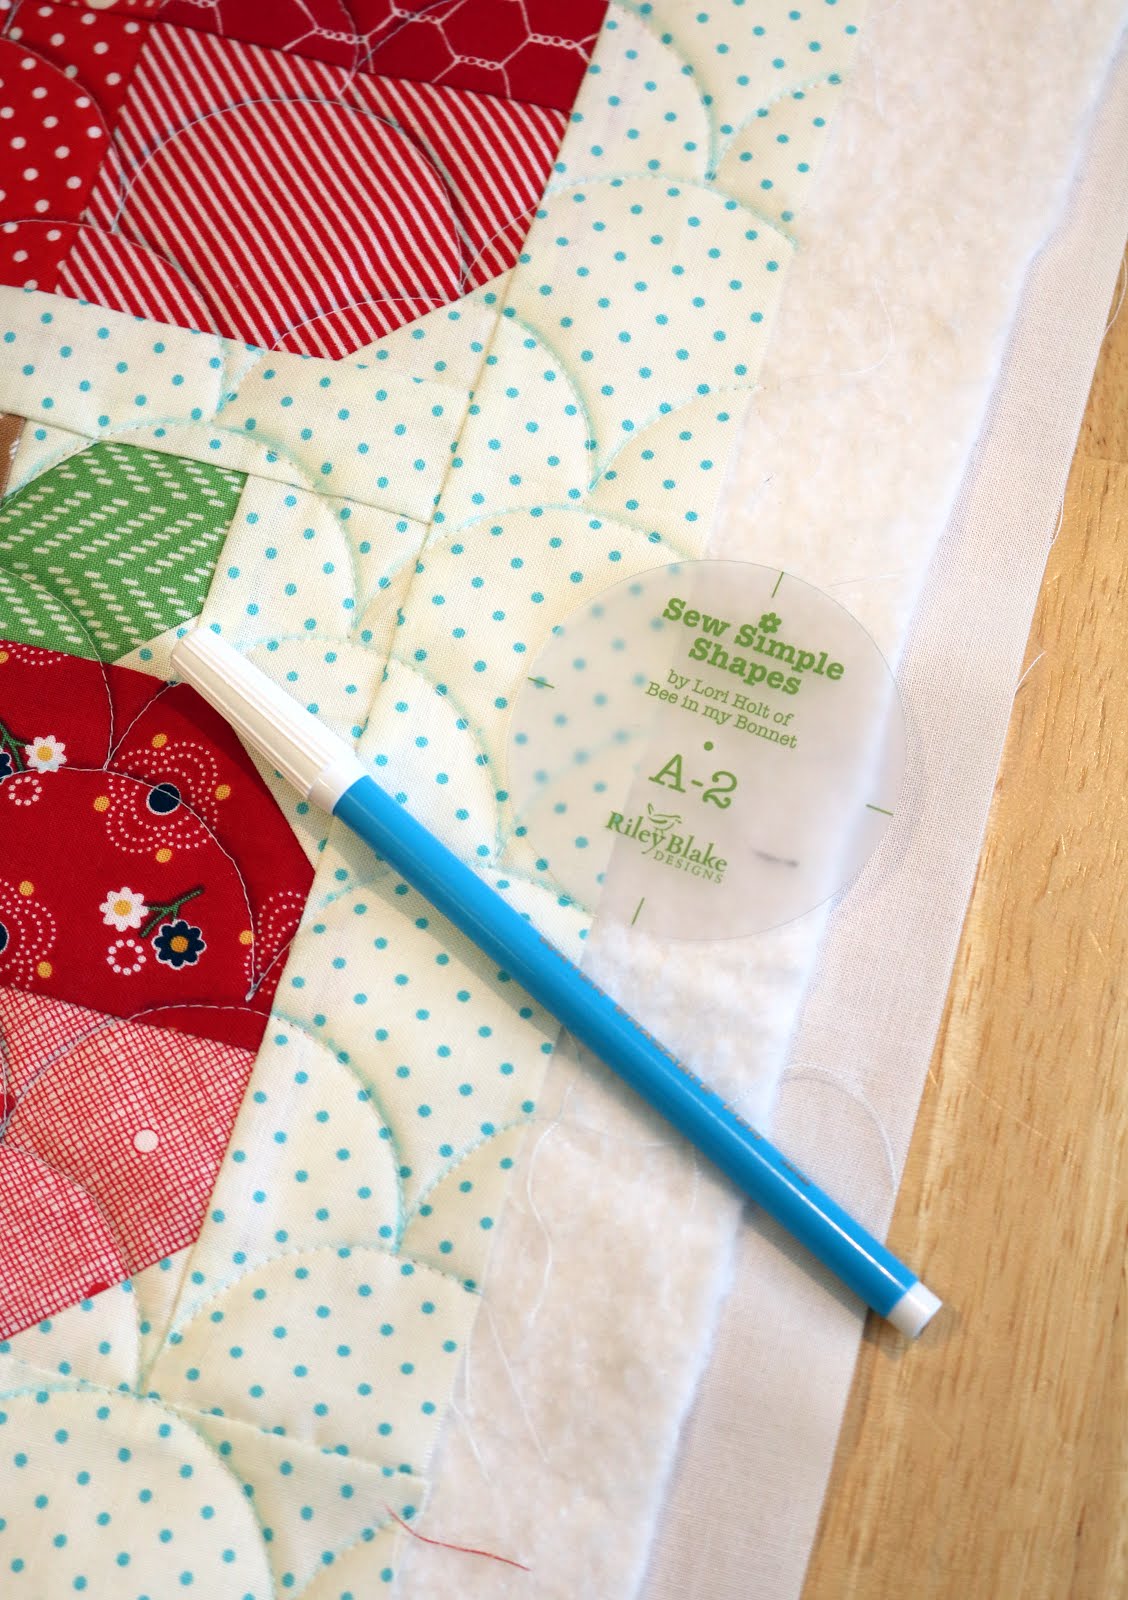

Tips for doing clam shell quilting on a mini quilt from A Bright Corner

It worked great!  And was less time consuming than I expected it to be.  Another bonus was that I didn't even have to switch out my presser foot to a walking foot.  My regular foot worked just fine. 

And when the quilting was done, I sprayed the top with water to make the blue lines disappear!
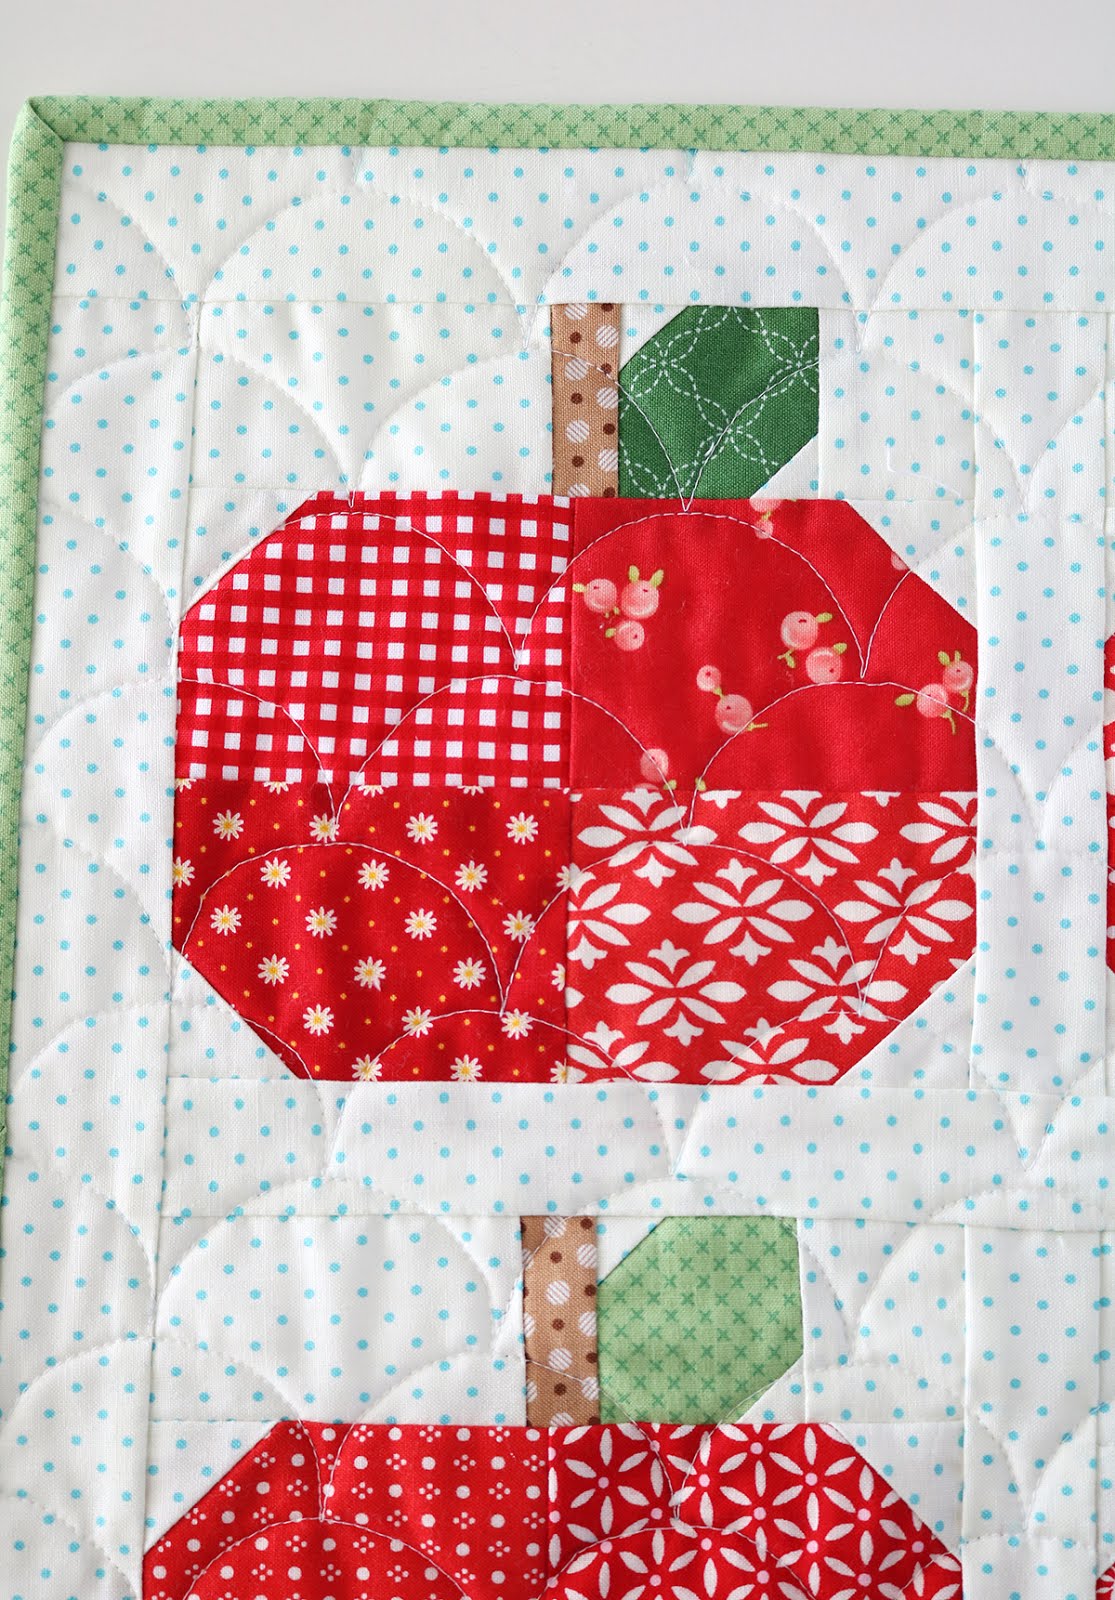

Scrappy Apples mini quilt by Andy of A Bright Corner

Here's a view of the quilting from the back - I love how it turned out!
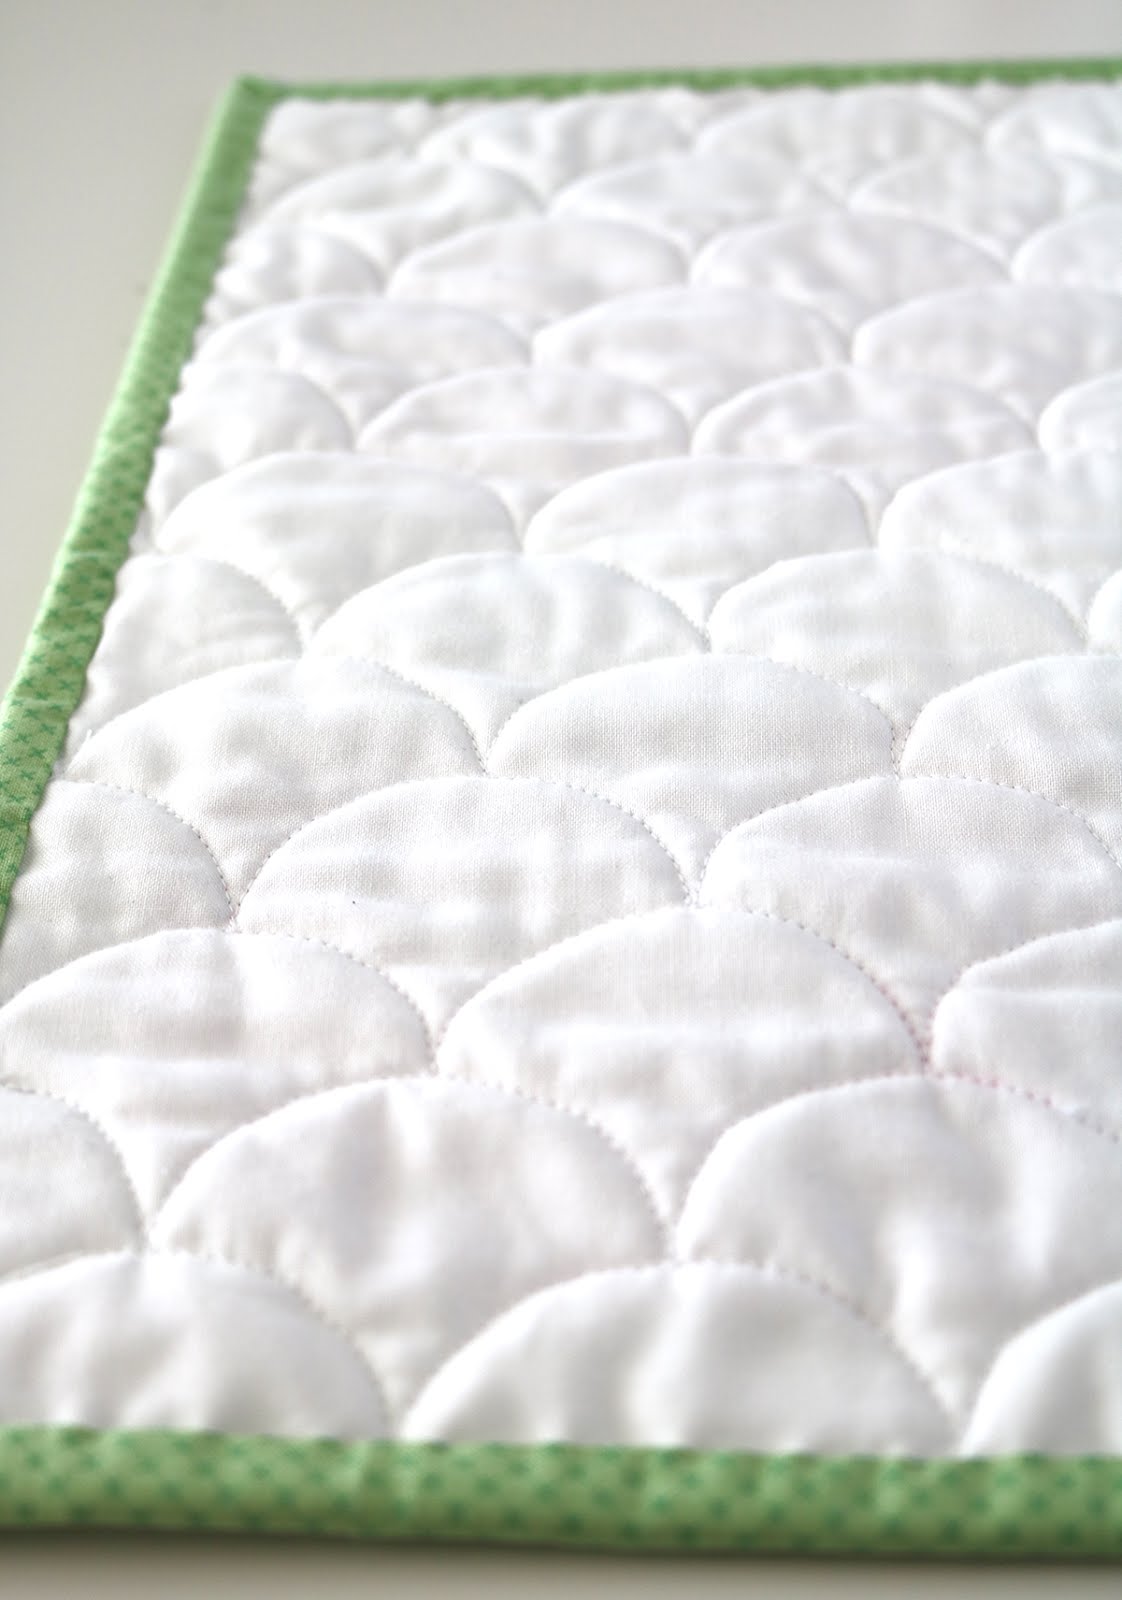

Tips for doing clam shell quilting on a mini quilt from A Bright Corner

My finished mini is already up on the wall, brightening my sewing space with it's cheery scrappiness.  (Spell checker is telling me that "scrappiness" isn't a real word, but I beg to differ.)  Oh - and I get asked about how I hang my mini quilts - the secret is clear thumbtacks!
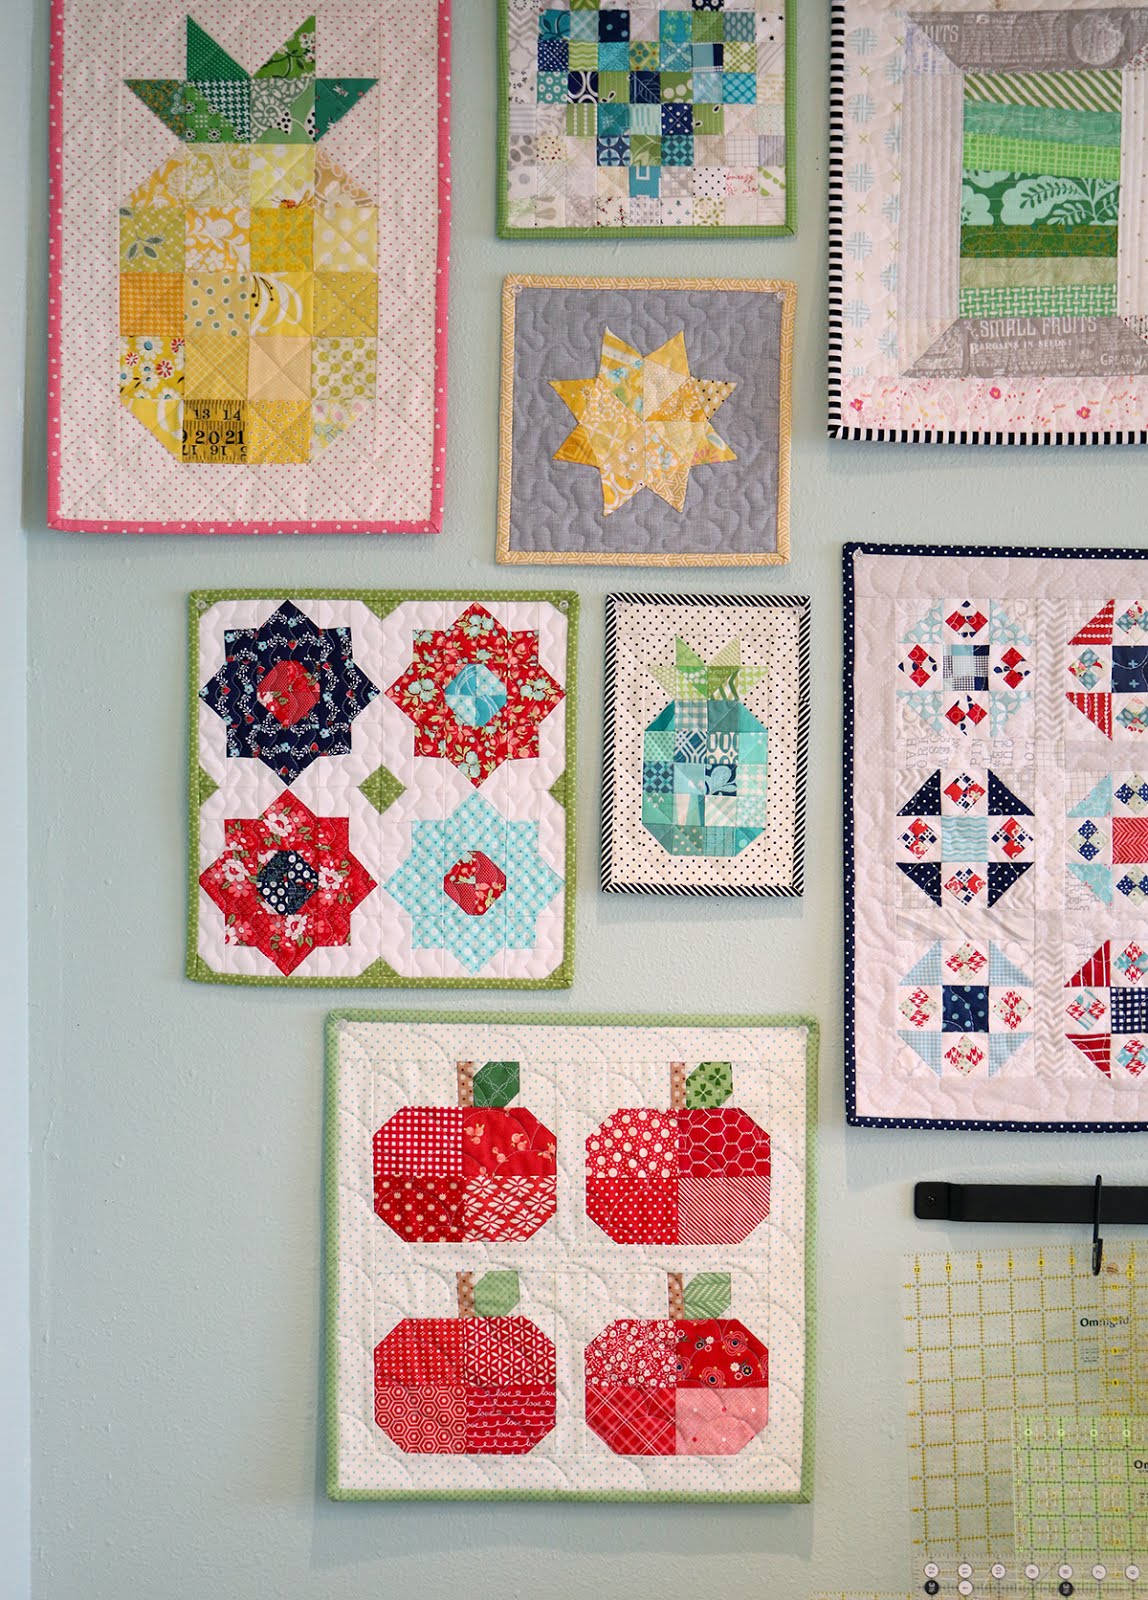


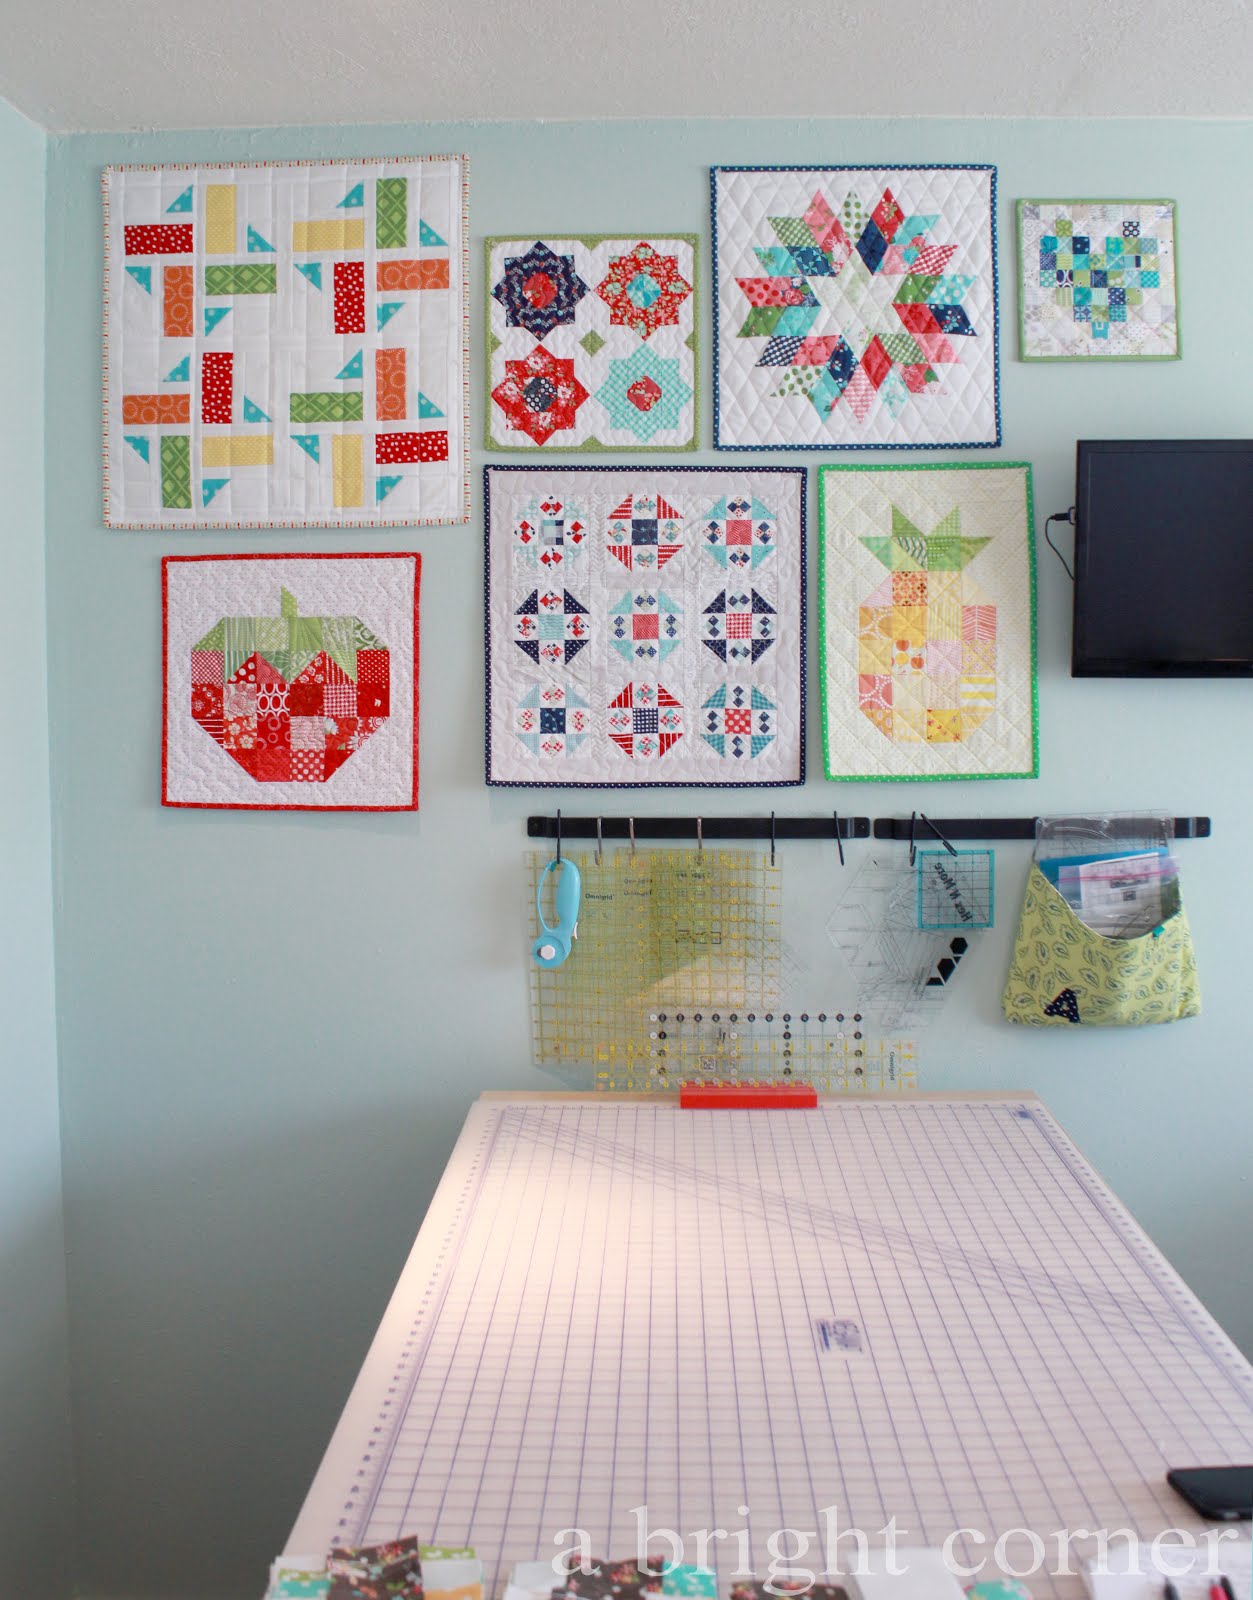
Wall of mini quilts from A Bright Corner

Have you heard about the Spelling Bee book?  It's another fantastic book by Lori Holt, jam packed with creativity.  It starts with the block patterns for the entire alphabet - both upper case and lower case, all with options for small (4" x 6") blocks and large (8" x 12") blocks. 
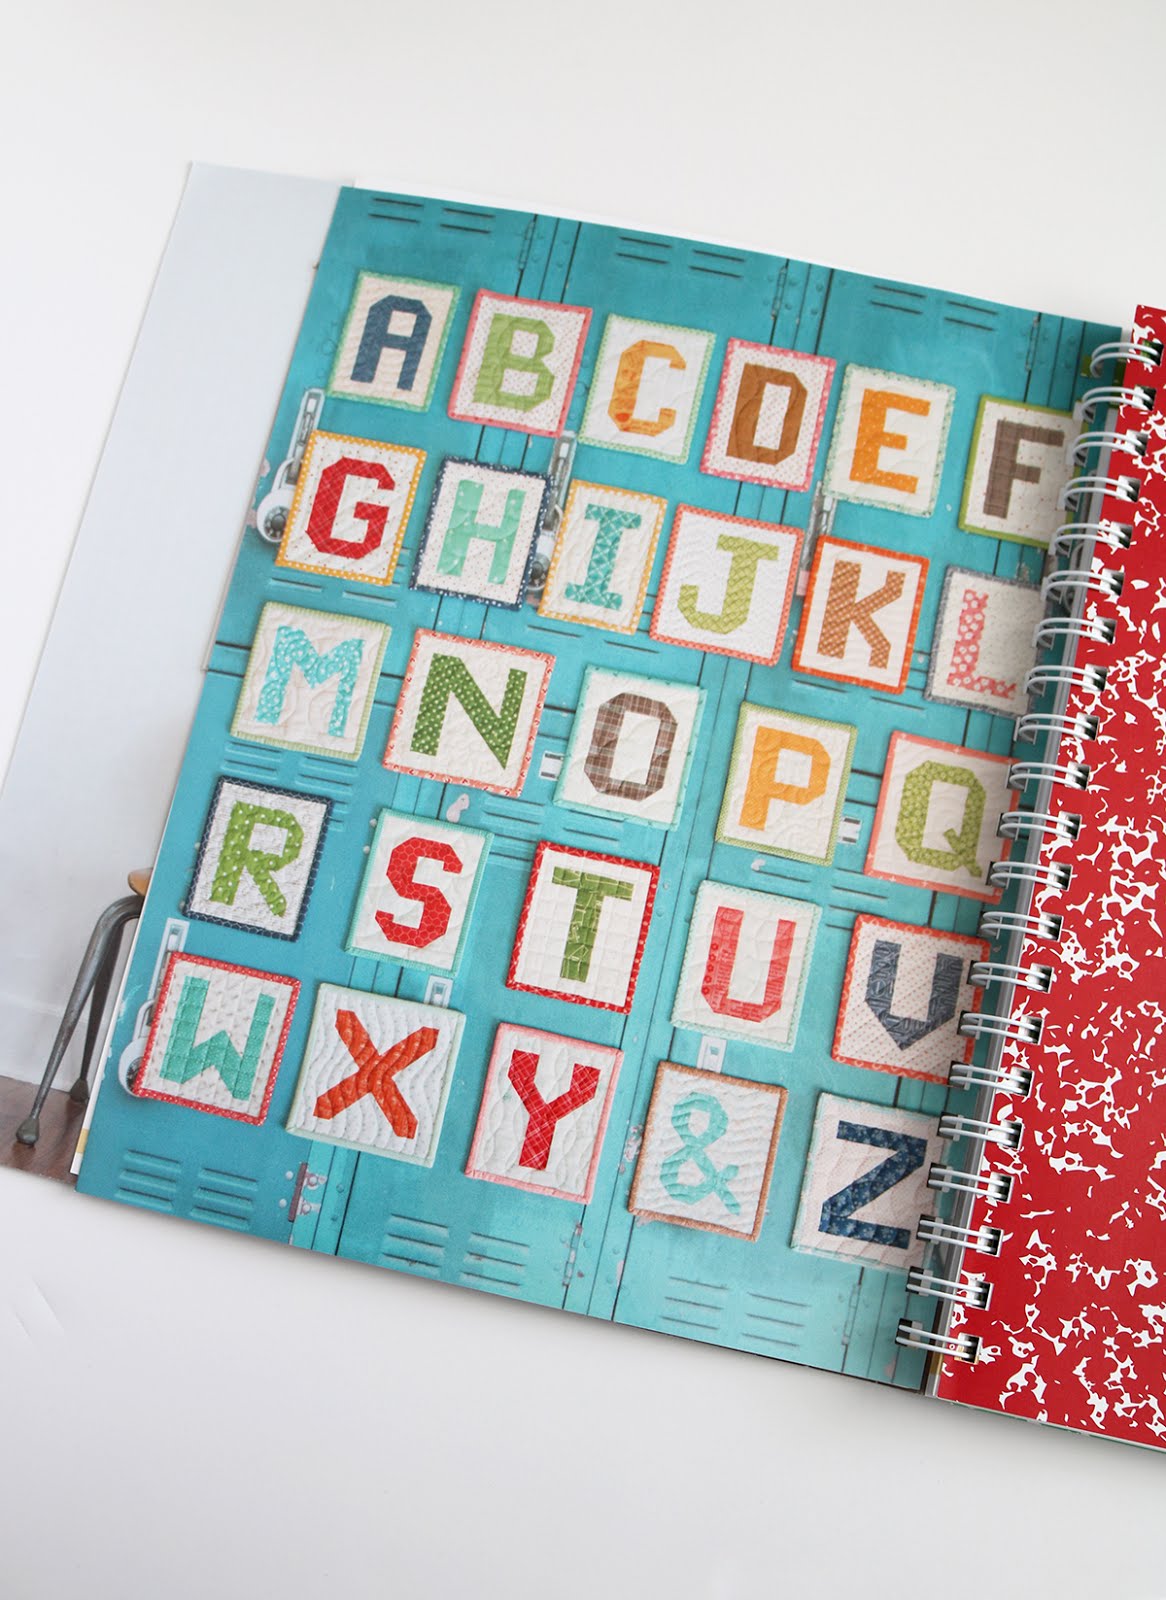

Spelling Bee book by Lori Holt

Then there are also picture blocks like the apples I made-- this quilt below shows a few more of them.  The picture blocks also have the option for either 6" or 12" blocks. 
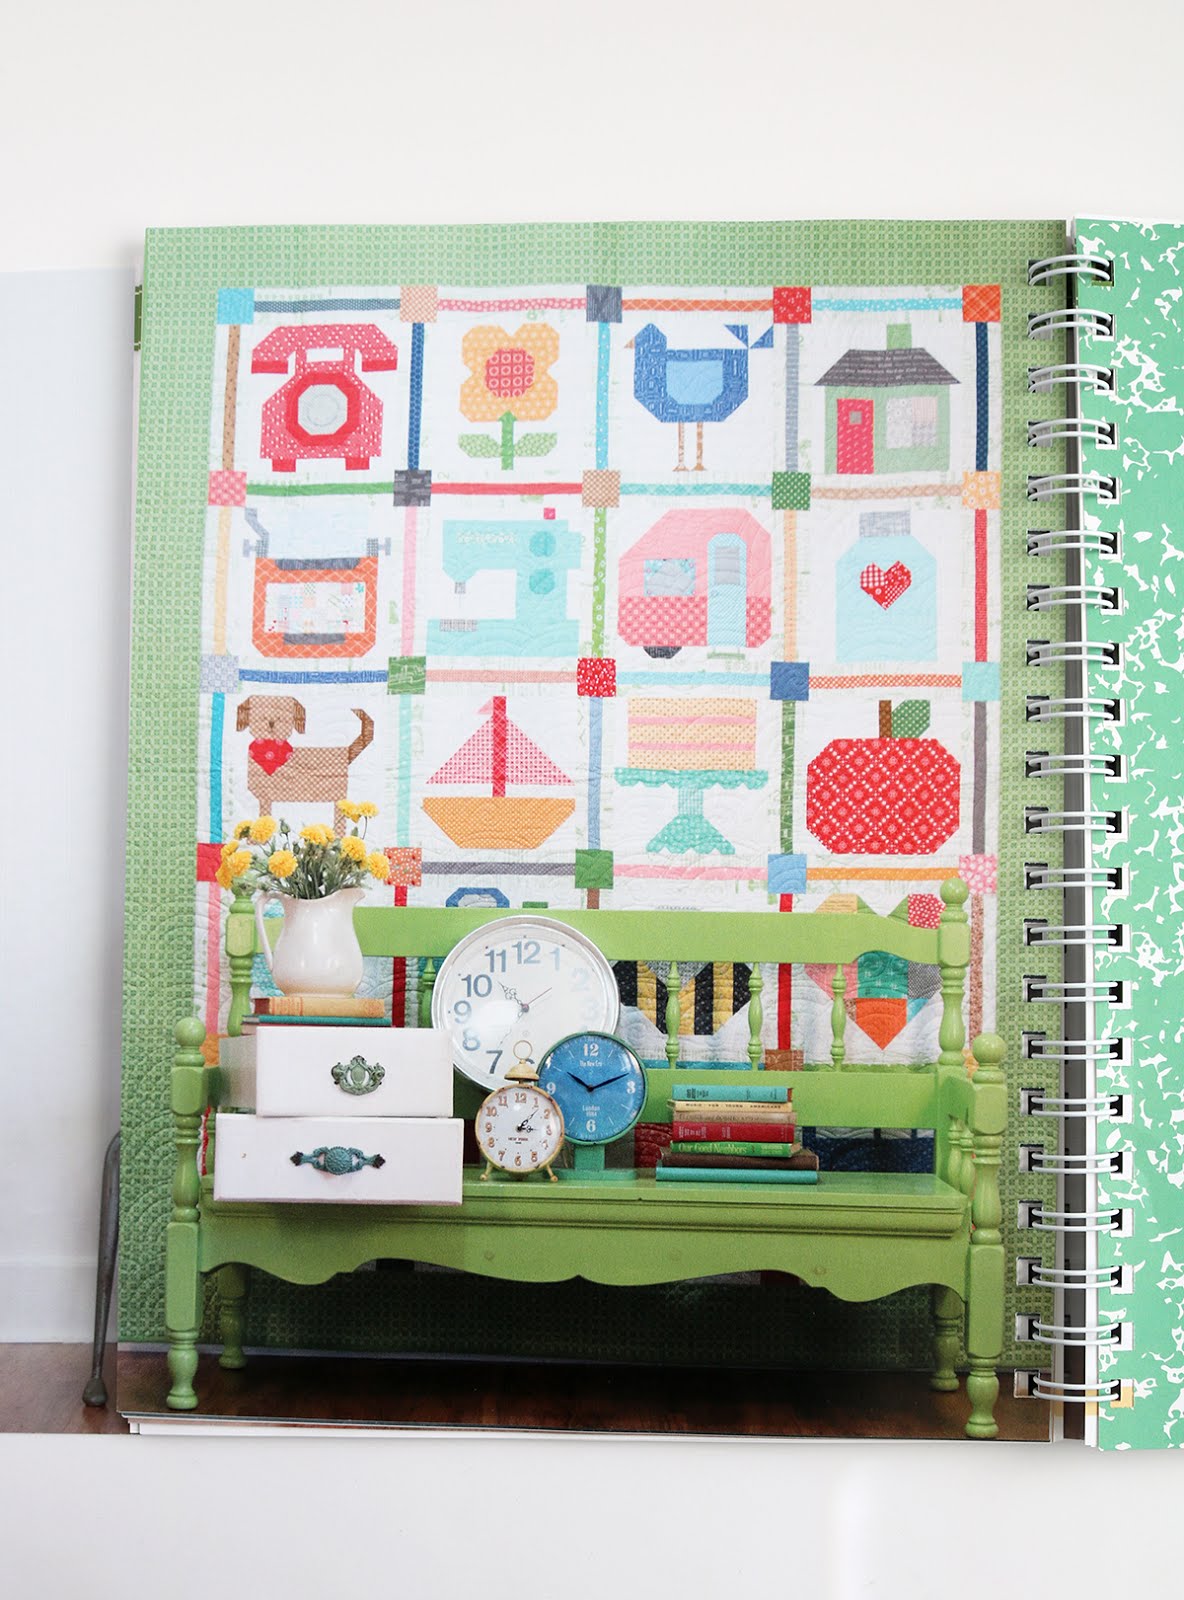

Spelling Bee book by Lori Holt

There are also number blocks (0-9), and punctuation blocks, and in the back are pages and pages of quilt ideas! 
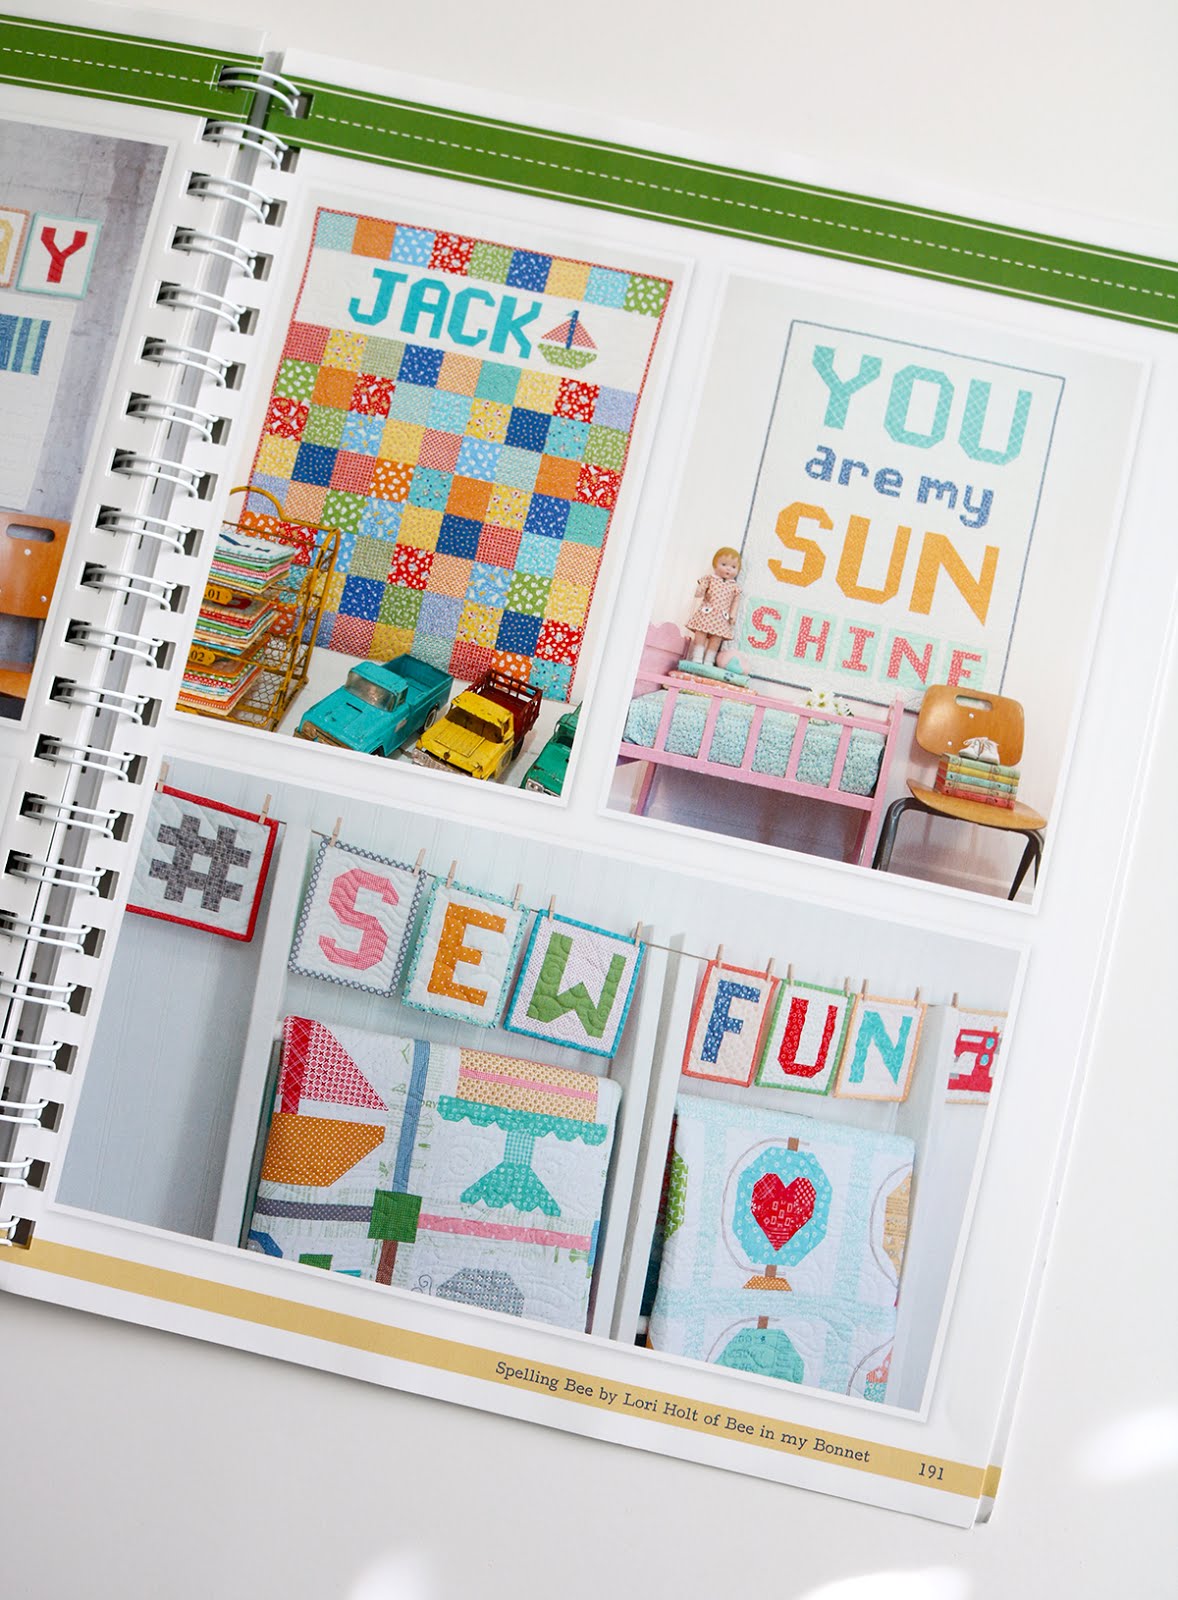

Spelling Bee book by Lori Holt

I've got my eye on the "Jack" quilt in the photo above, and the globe quilt below.  There are so many great quilt ideas in this book.  And it's a great resource if you ever want to add a name, or other text to a quilt.  How cute would it be to add a child's name to the back of a quilt you've made for them?  
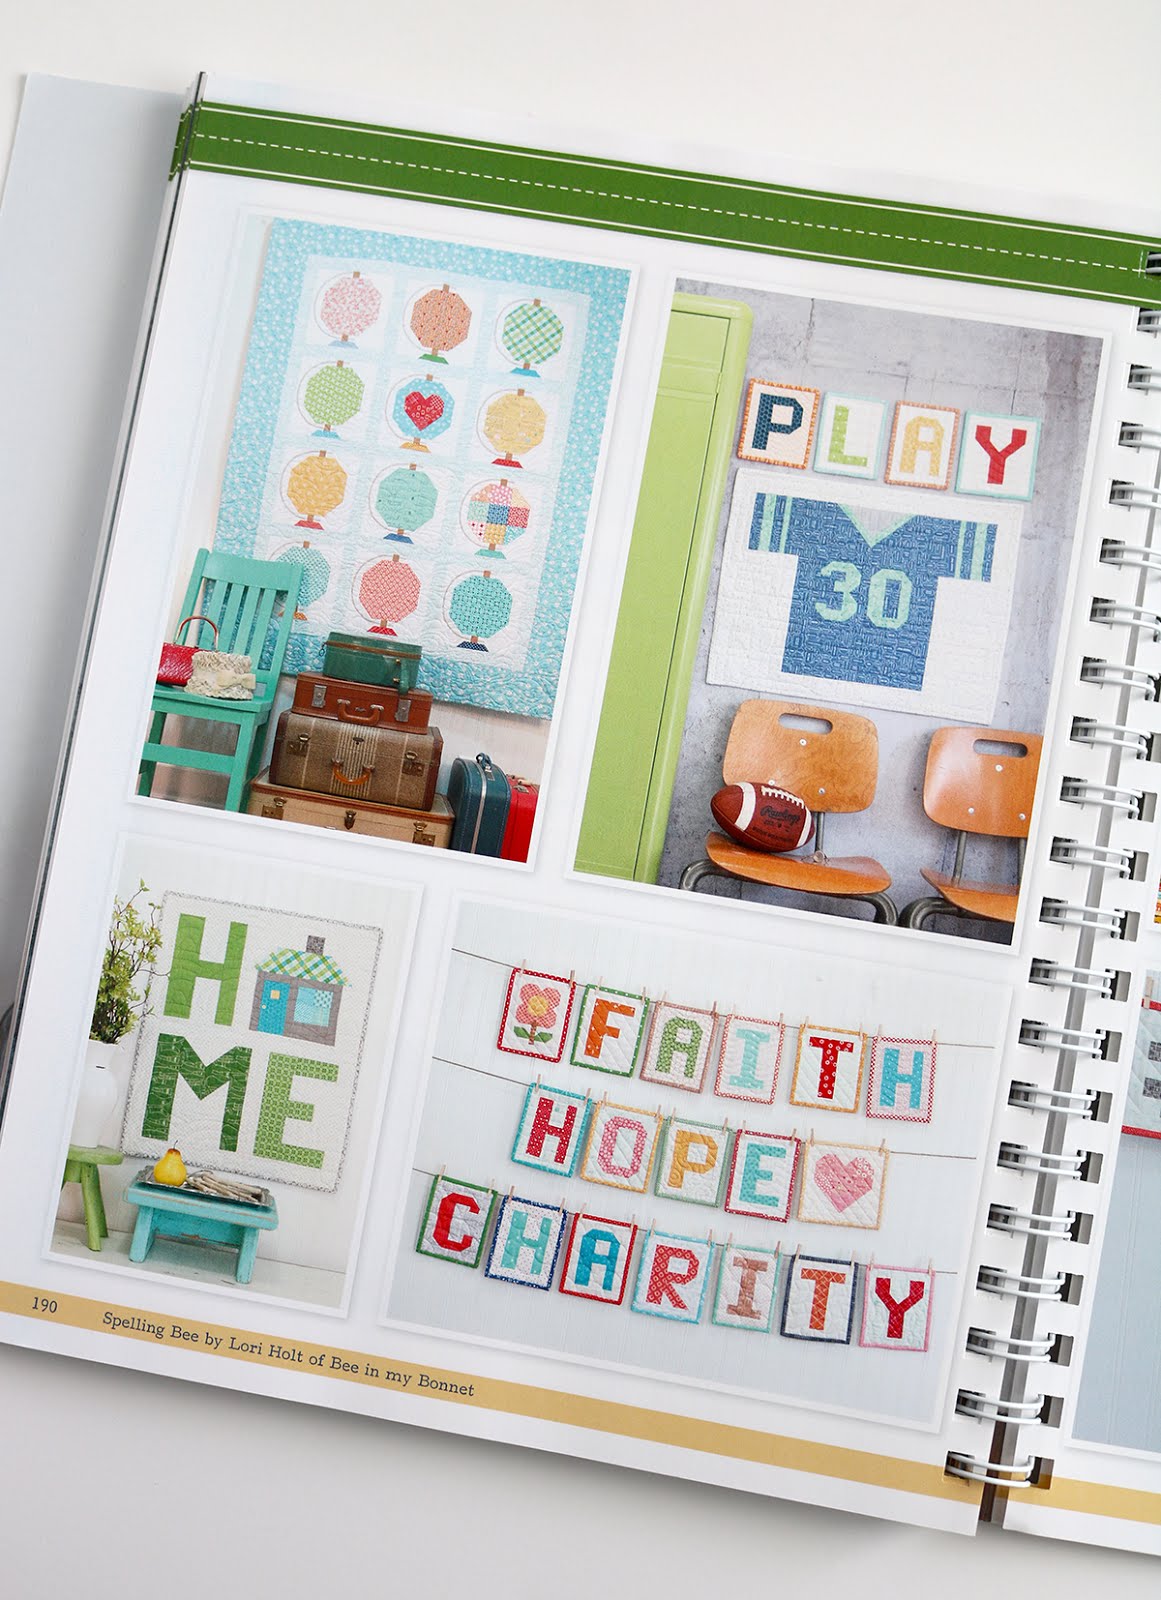

Spelling Bee book by Lori Holt

You can find the Spelling Bee book here at the Fat Quarter Shop.  

And right now the Fat Quarter Shop is hosting a Spelling Bee sew along.  On Saturday each week a different blogger is sharing their version of one or two of the blocks in the book.  My week to share is not for quite awhile but I couldn't help myself - I HAD to make those cute little apples!  

You can find the blocks they've already completed here.  
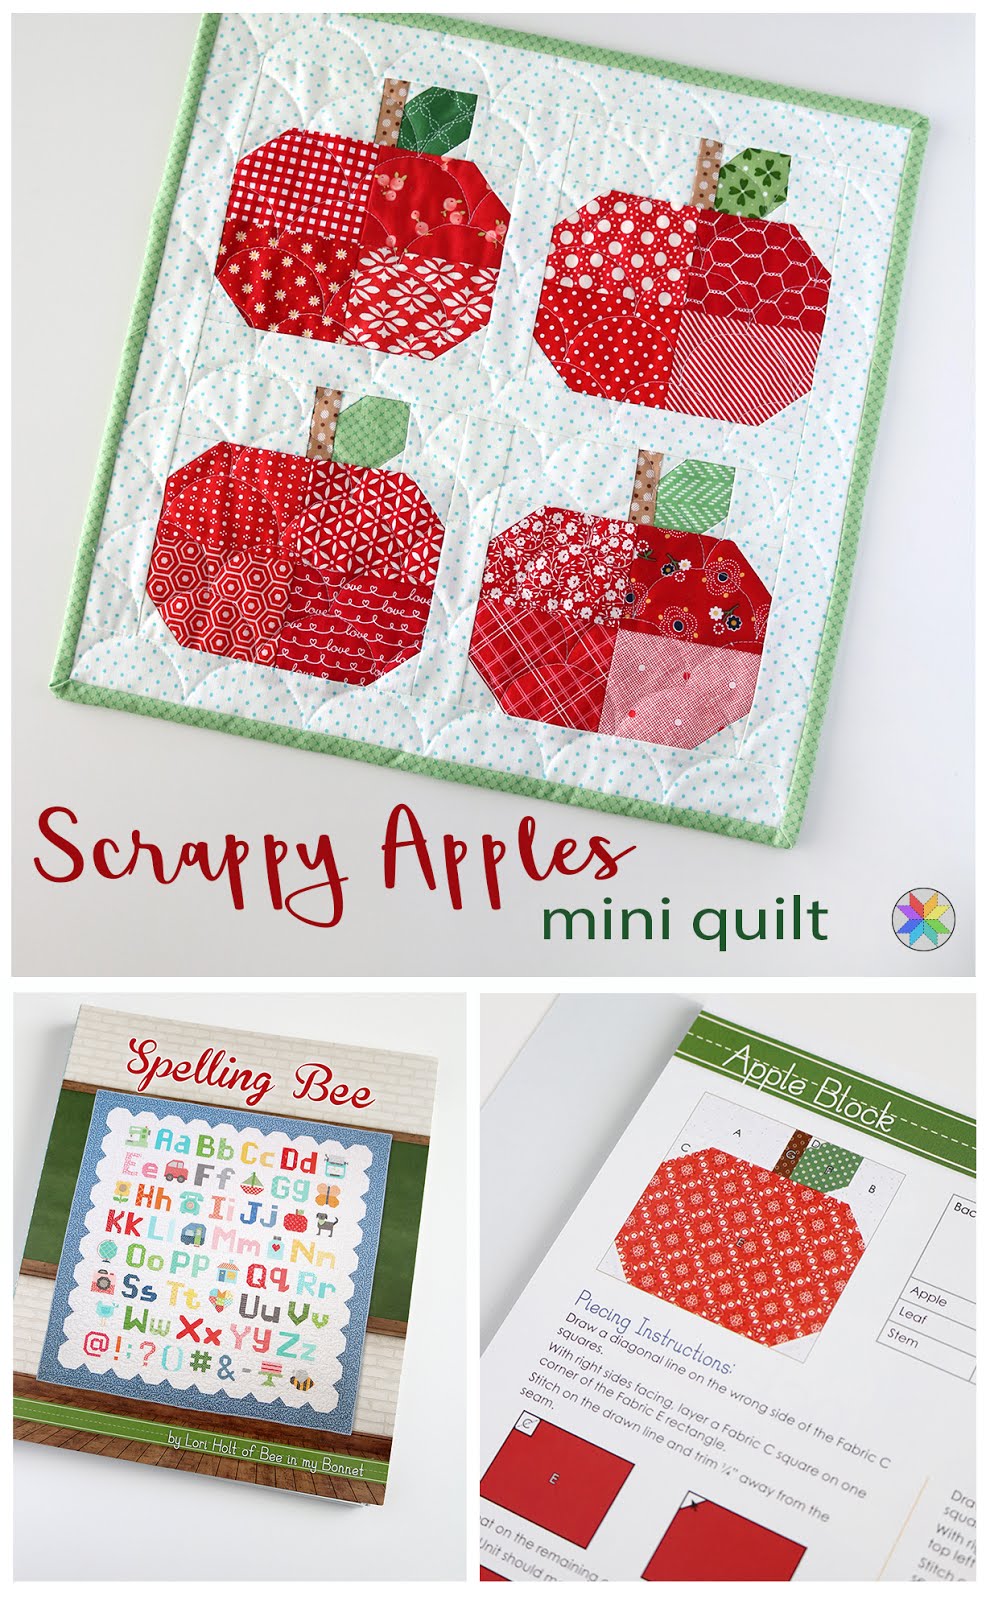
Scrappy Apples mini quilt by Andy of A Bright Corner block found in Spelling Bee book from Lori Holt

**This post may contain affiliate links, which means I may receive a small commission (at no additional cost to you) when purchases are made through links found in this post.  
Tuesday, May 3, 2016

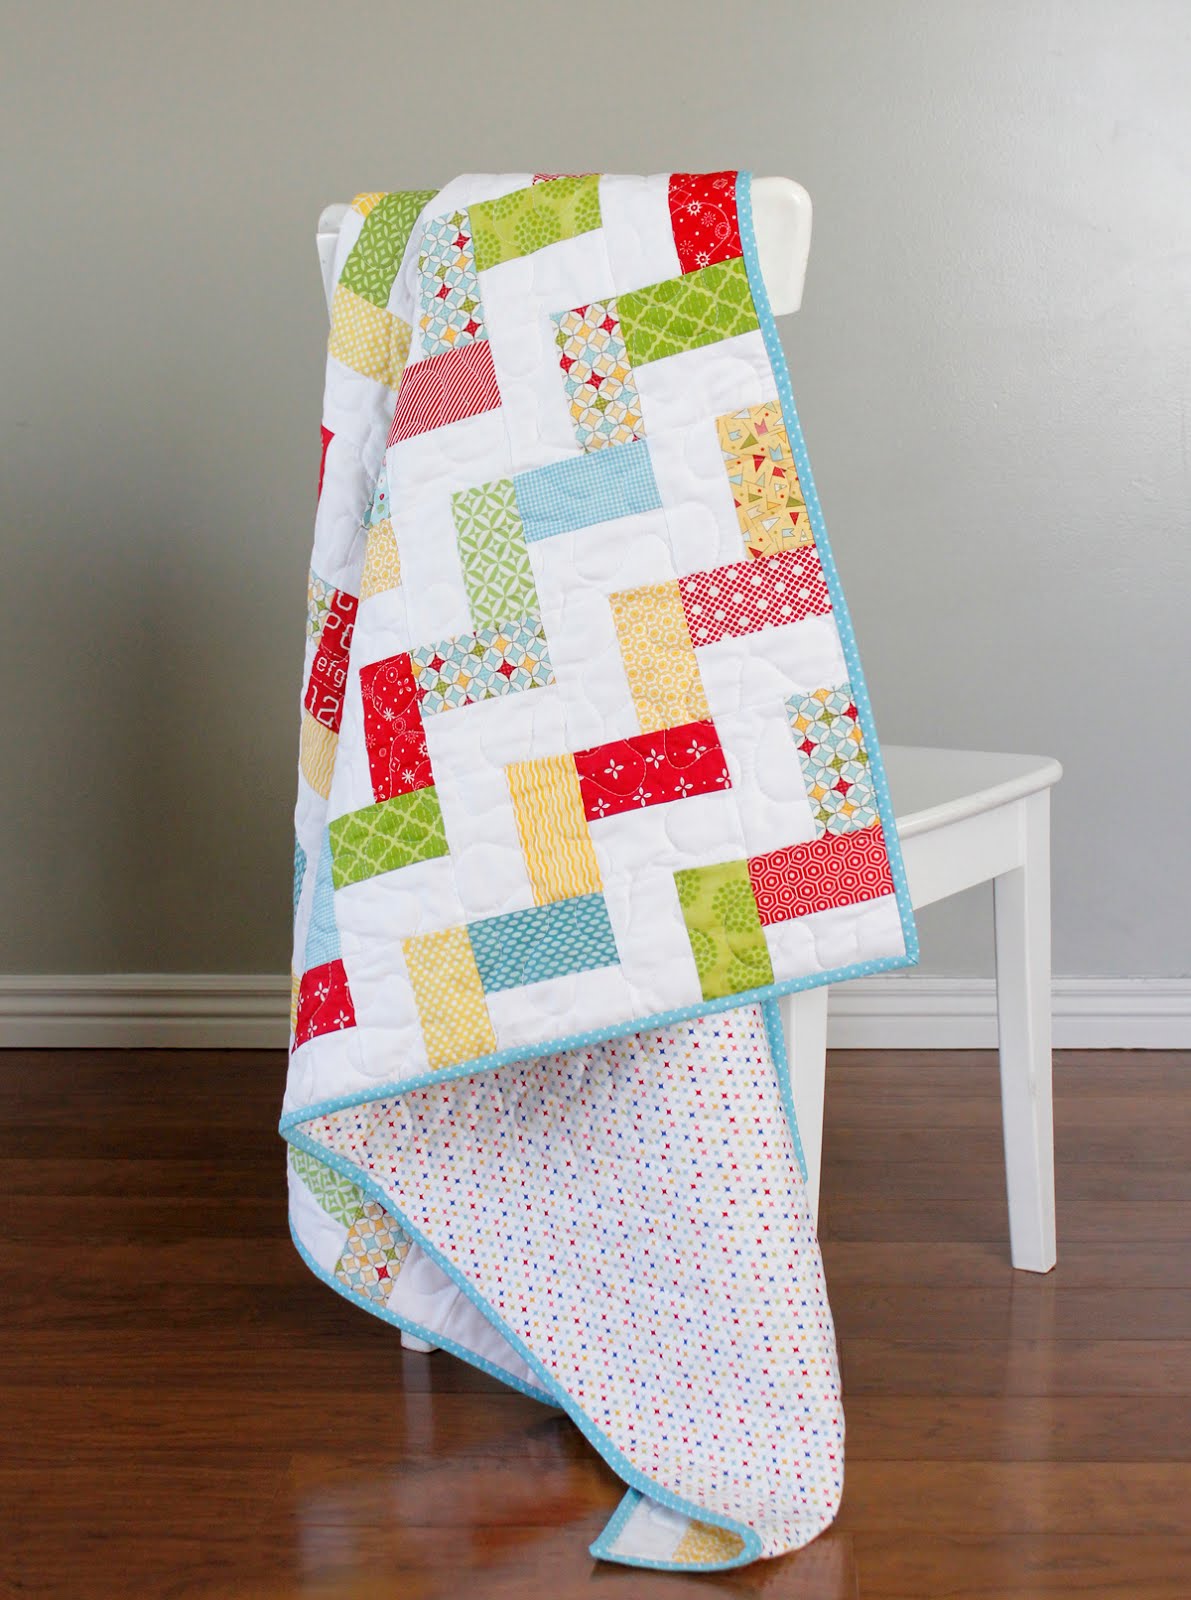
Bright Baby Quilt

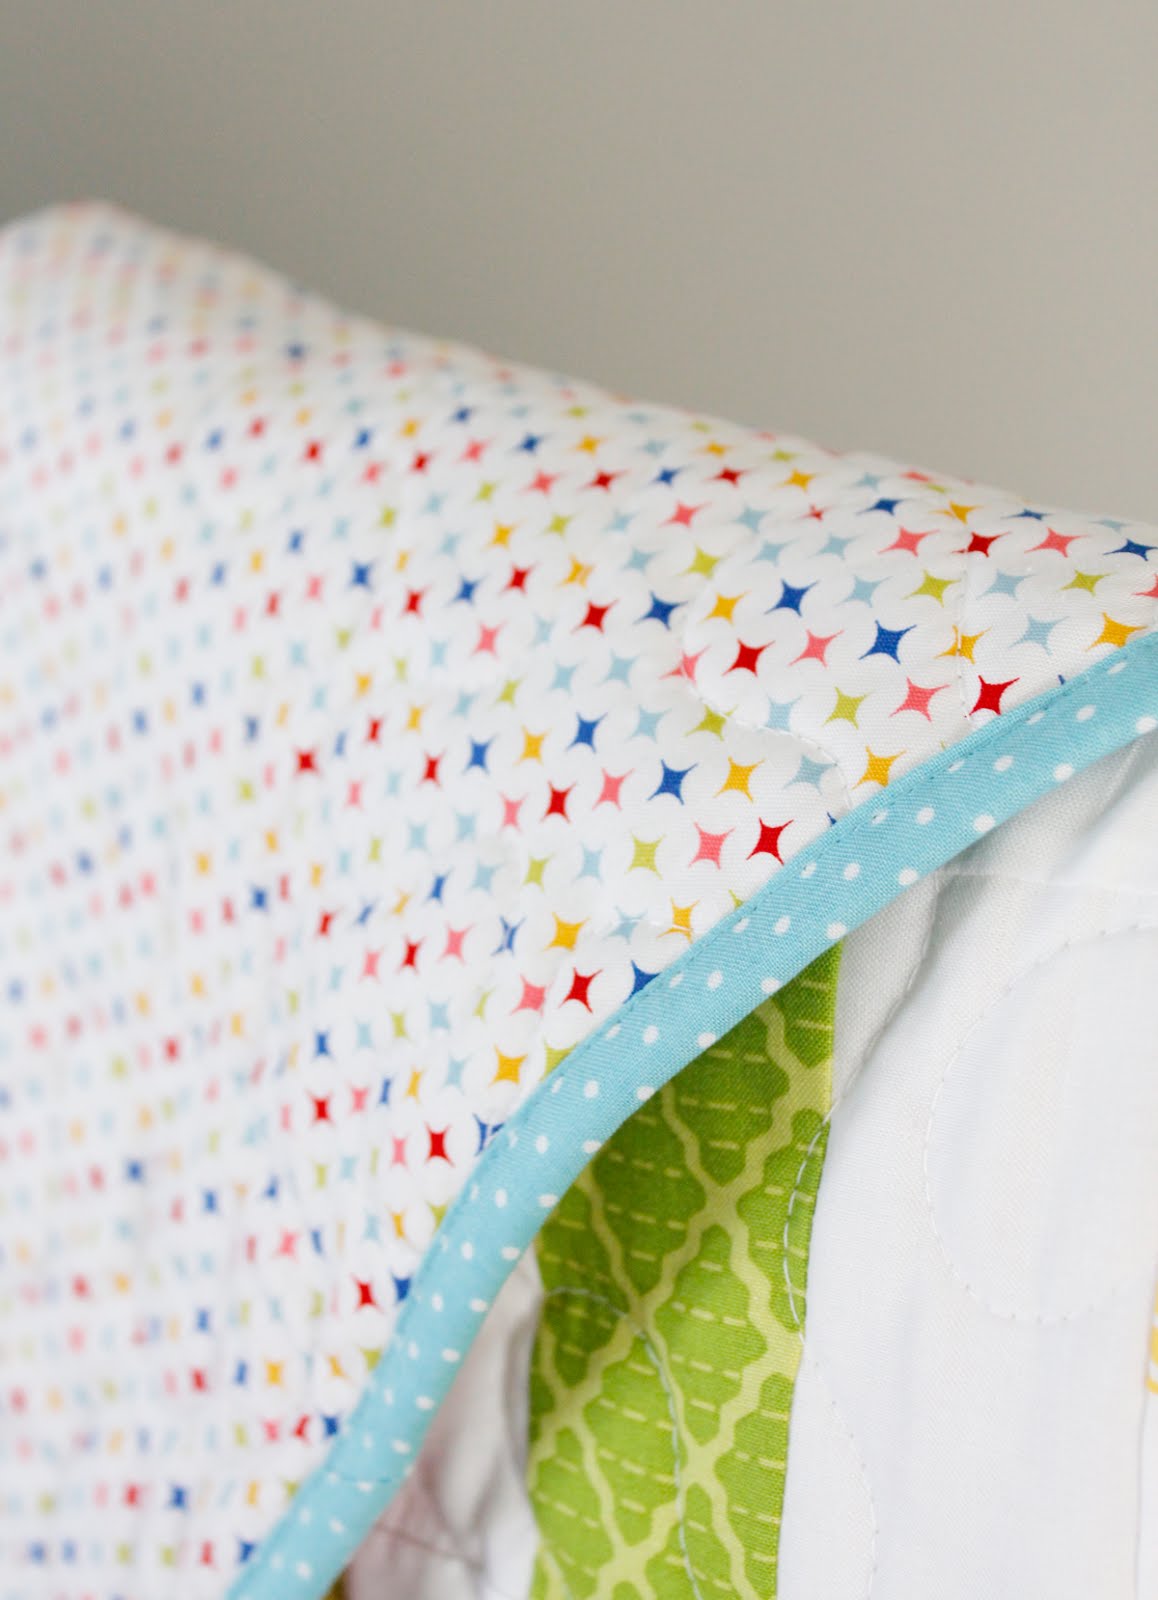
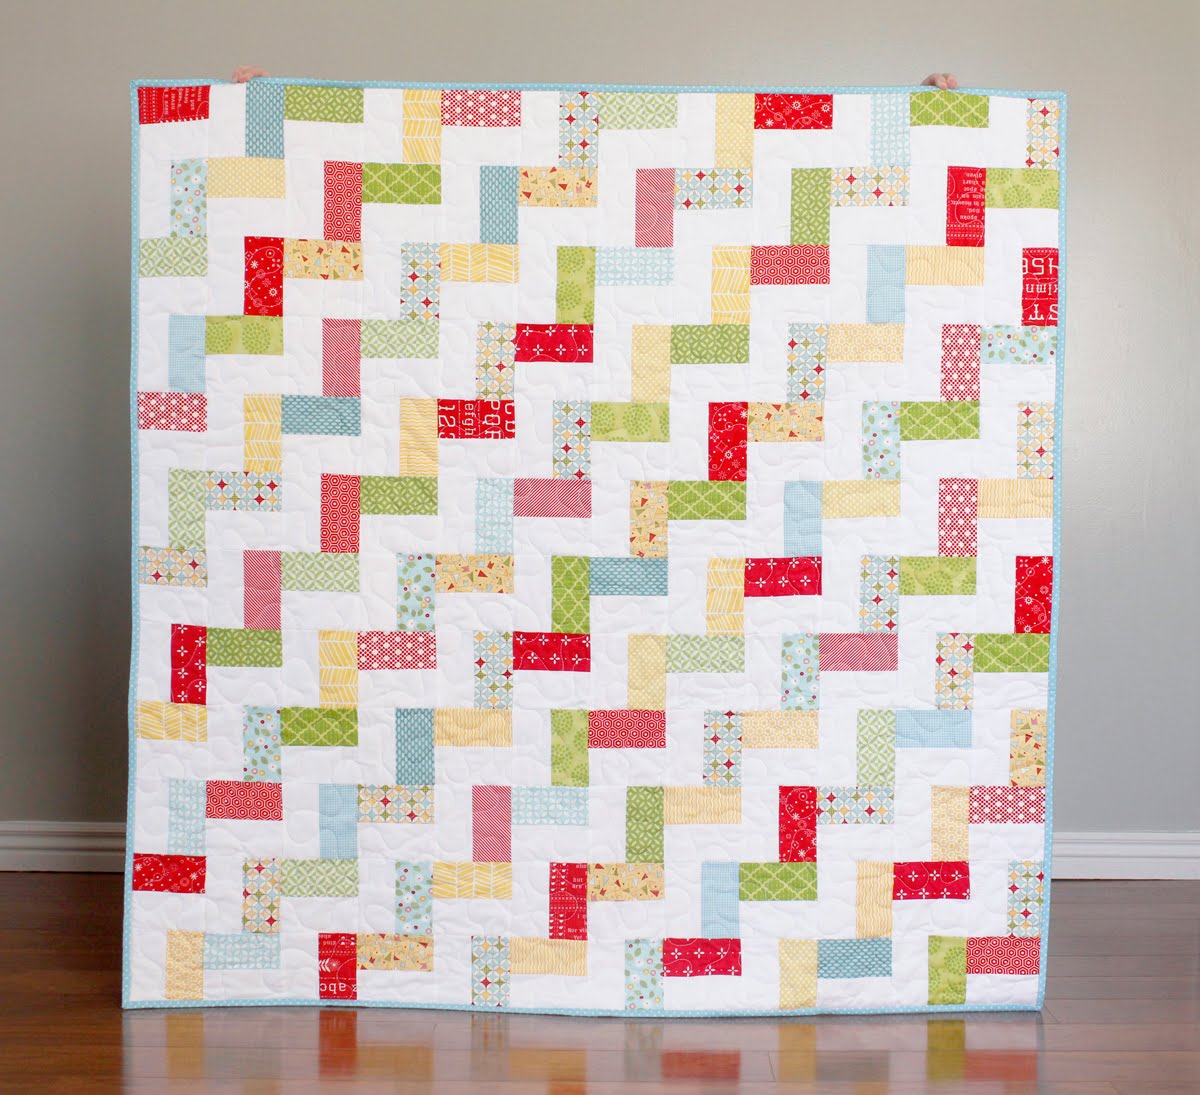
We all make mistakes, right?  Well, this quilt is completely made from mistakes!  And the weird thing is, I don't hate it.

A couple of years ago I was at a retreat and had brought everything I needed to make a queen sized Hello Washi Quilt.  I was having a great time visiting with friends as I cut my blocks out and began chain piecing.

Bright Baby Quilt made by A Bright Corner

When it was time to put my first big block together I came to an awful realization.  I had messed up BIG TIME.  I had cut about 150 white strips too narrow.  By the time I realized it, I had already sewn each too-thin white strip to a print rectangle.  Ugh.  So now what??

My options at this point were to sit and unpick 150 seams and start completely over, OR  I could set aside the mistake blocks and move on.  After thinking about it (for maybe 10 seconds) I decided to save the mistakes for later and move on.  It wasn't a tough decision - I'm not a huge fan of my seam ripper!  So I put this quilt away and worked on something else for the rest of the retreat.

Bright Baby Quilt made by A Bright Corner

When I got home I stashed the mistake blocks away to work on another time.  I pulled them back out a month or so ago and put them all up on my design wall to see what I could make from them.

Bright Baby Quilt made by A Bright Corner


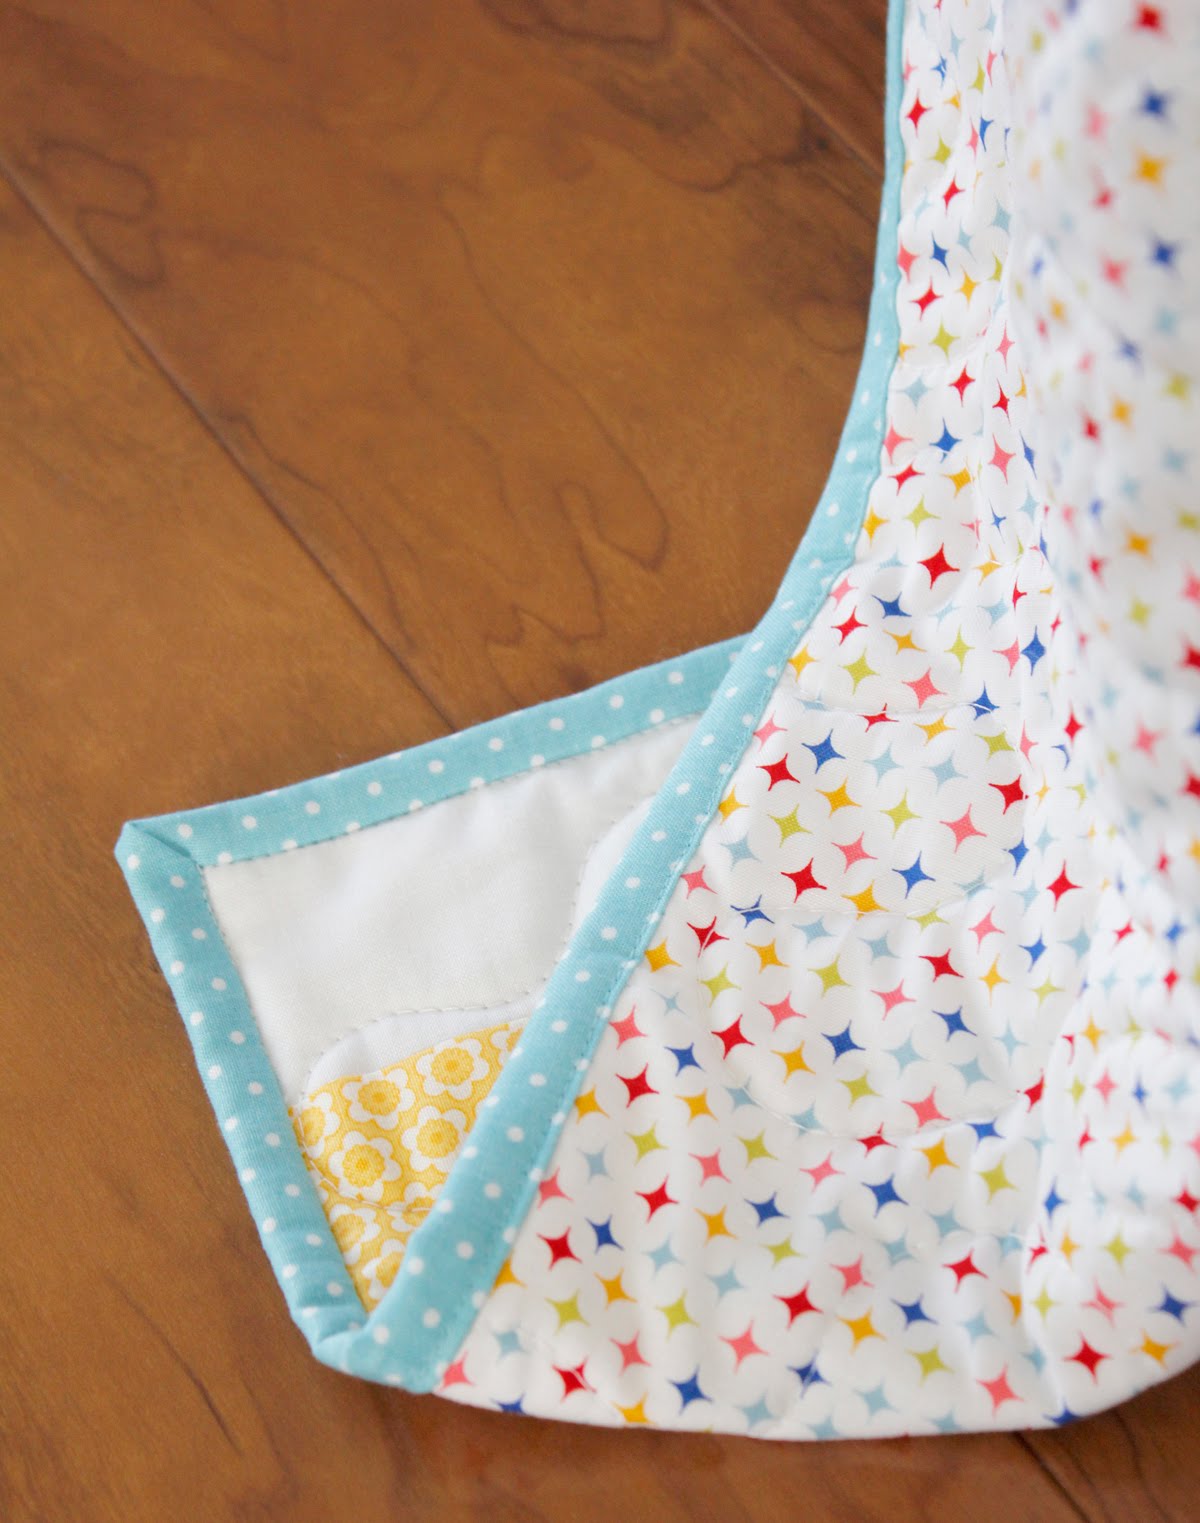
This baby quilt is the result - not bad, eh?  Talk about making lemonade out of lemons!

That's probably one of the worst mistakes I've ever made.  How about you?  What's the worst quilting mistake you've made?

Edited to add:  Want to make your own?  Find a link to the free PDF pattern here on this post. 

Bright Baby Quilt made by A Bright Corner

Quilt details:
48" x 48"
fabrics:  various prints from my stash


Wednesday, January 27, 2016

Pixelated Hearts


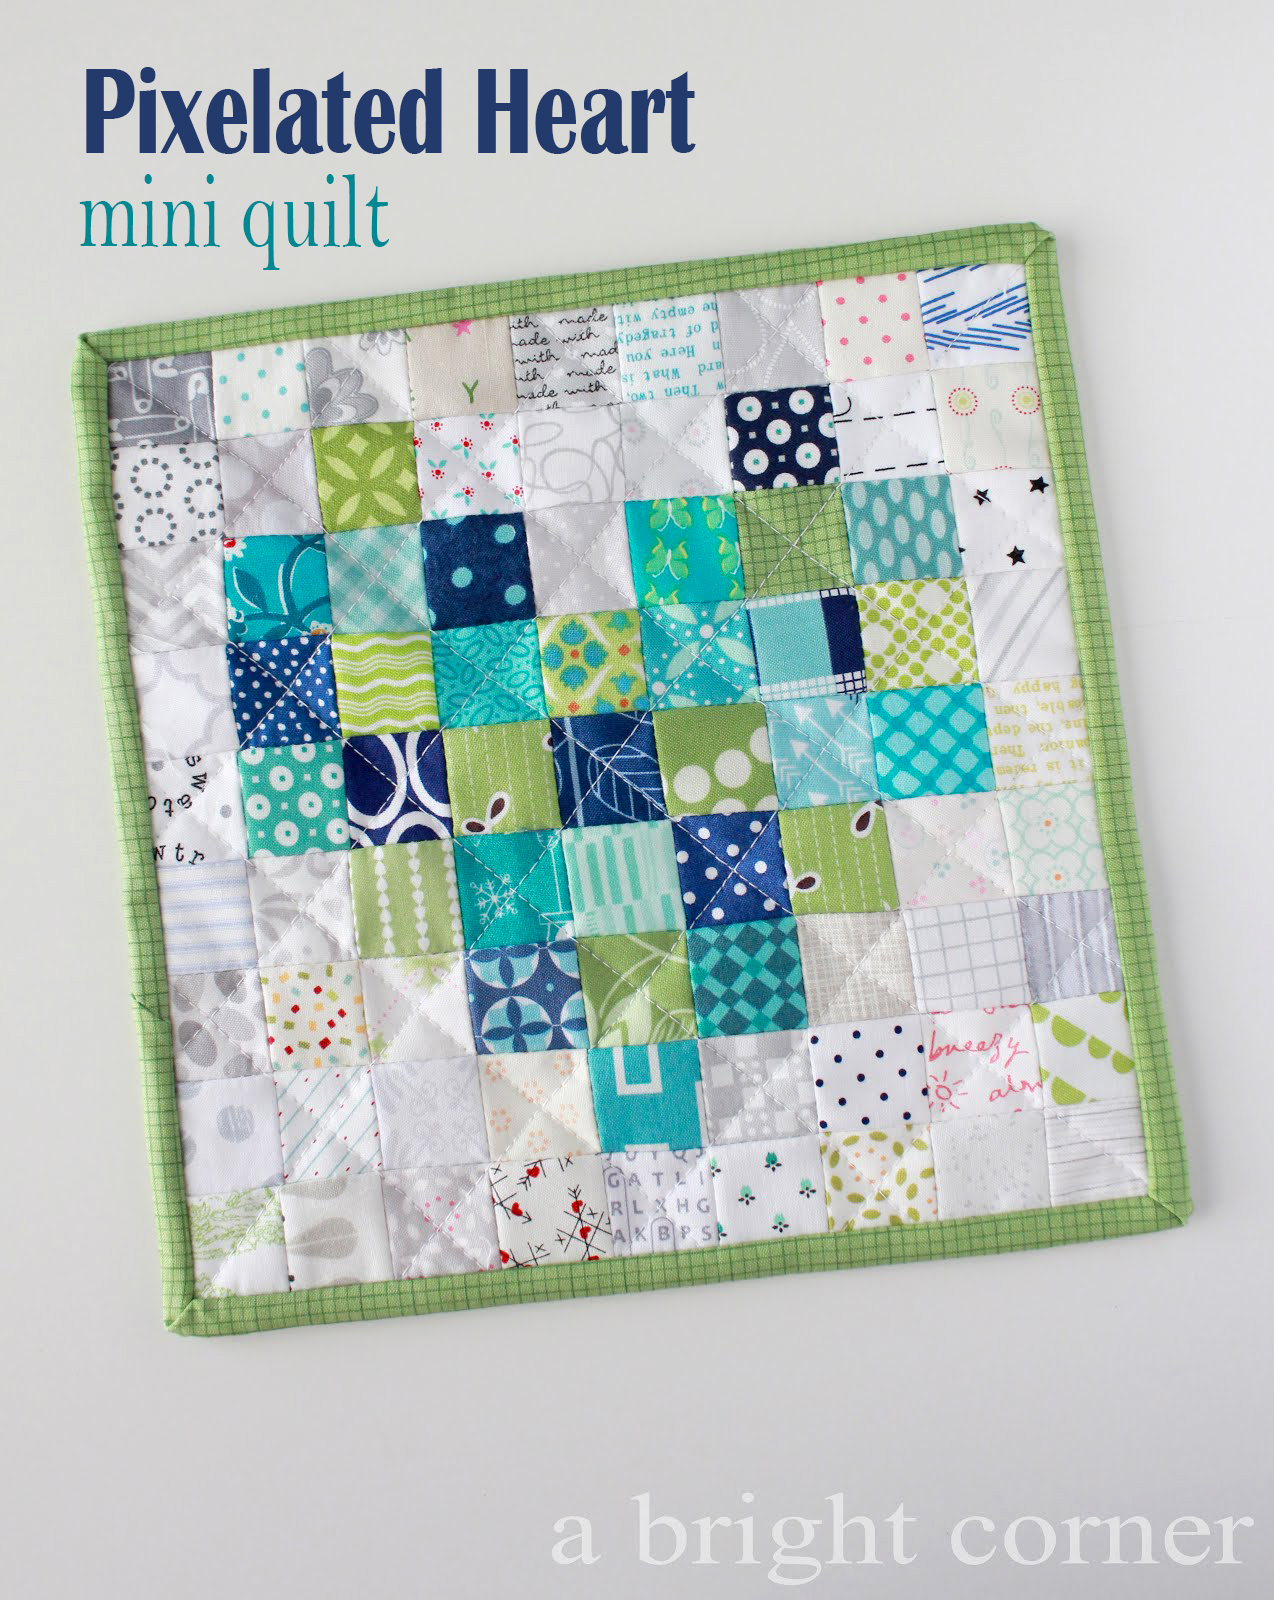
Pixelated Heart mini quilt tutorial from Andy of A Bright Corner

A couple of weeks ago I shared a link to a pixelated heart project - and now I've finally made my own!  You can find the original tutorial here on the Sew Mama Sew blog.

But since mine is a little different from the original tutorial I thought I'd show you how I made mine.  First of all, I didn't have any of that nifty pre-printed grid interfacing.  If you have it, that's great.  If not, it is easy to make your own!  I used the lightest weight fusible interfacing that I had.  
Pixelated Heart Mini Quilt - with a link to the tutorial!

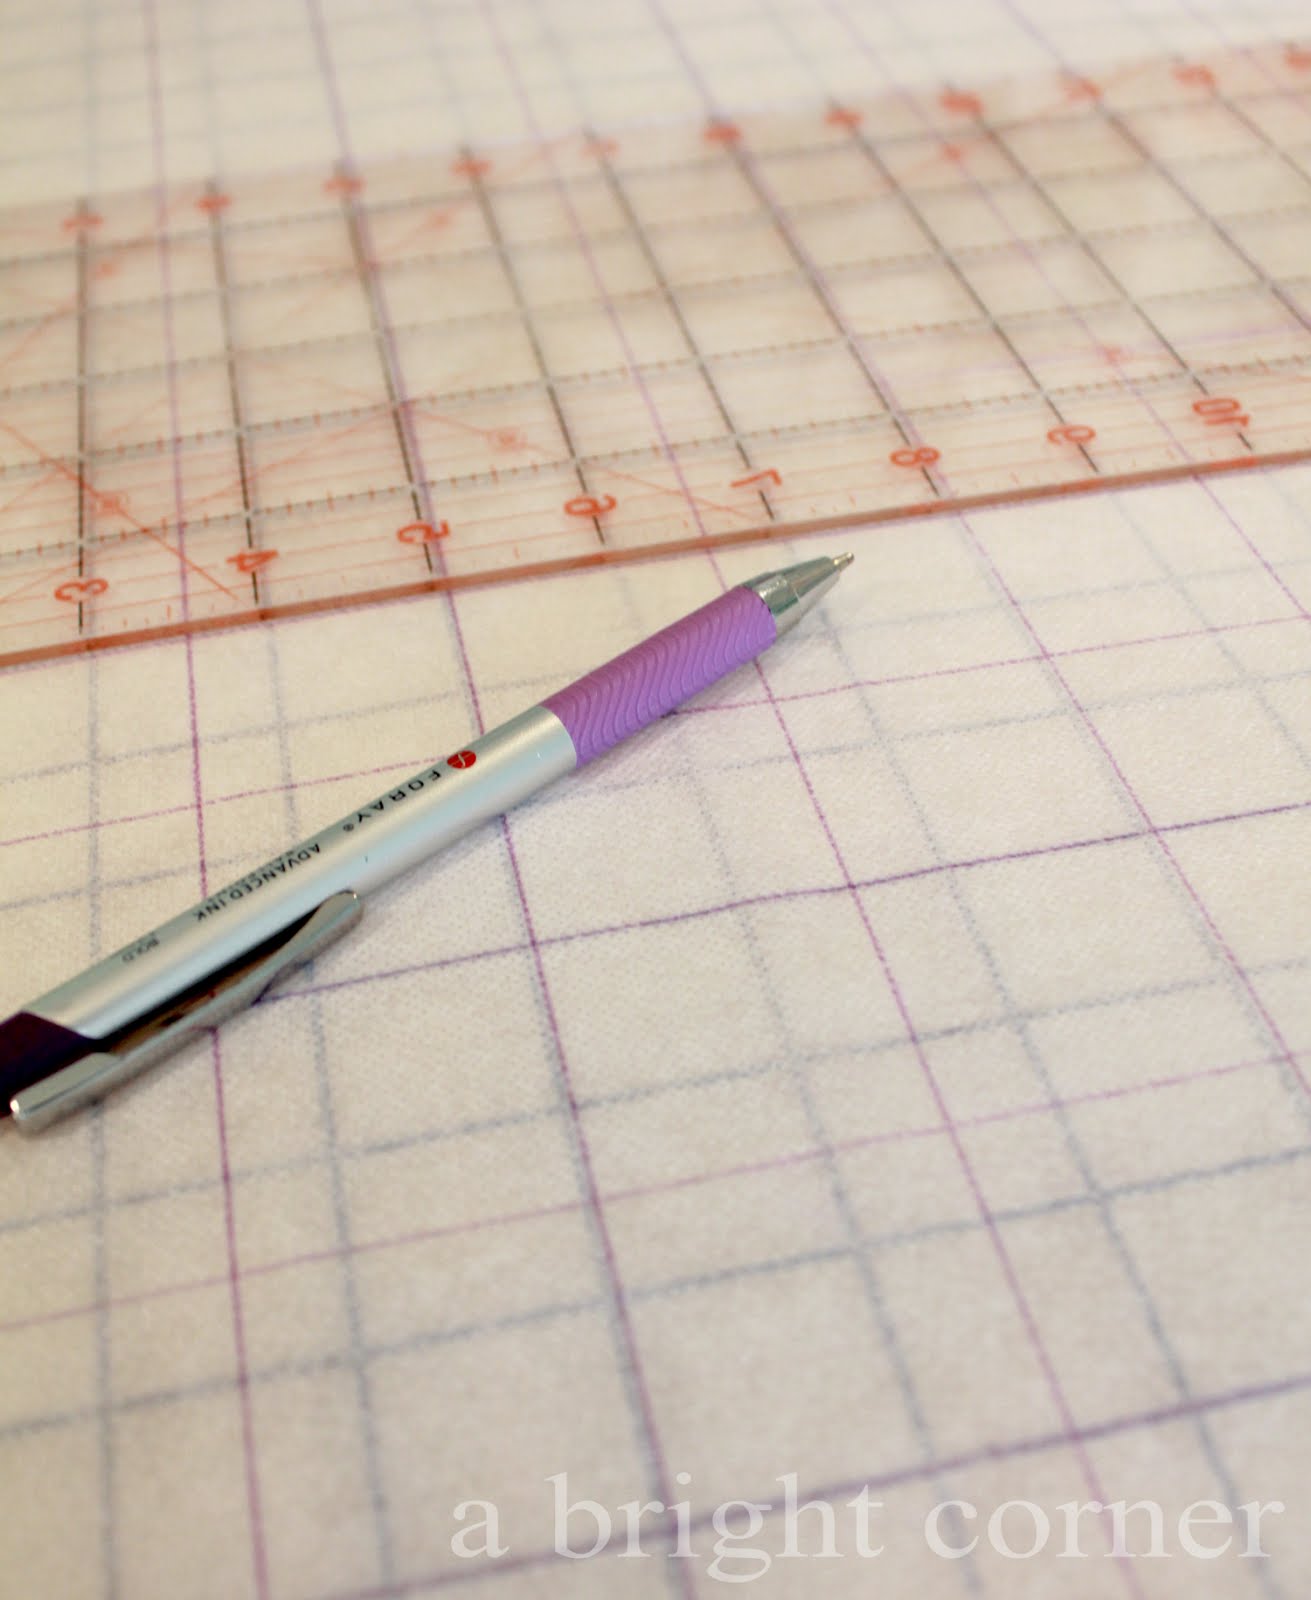
Decide how big you want to cut your squares (mine were 1.5").  Lay the interfacing over your cutting mat and using the lines on your mat and a ruler, just trace the grid.  You'll want to trace onto the smooth (non-fusible) side!  I used any ol' pen I had laying around.  

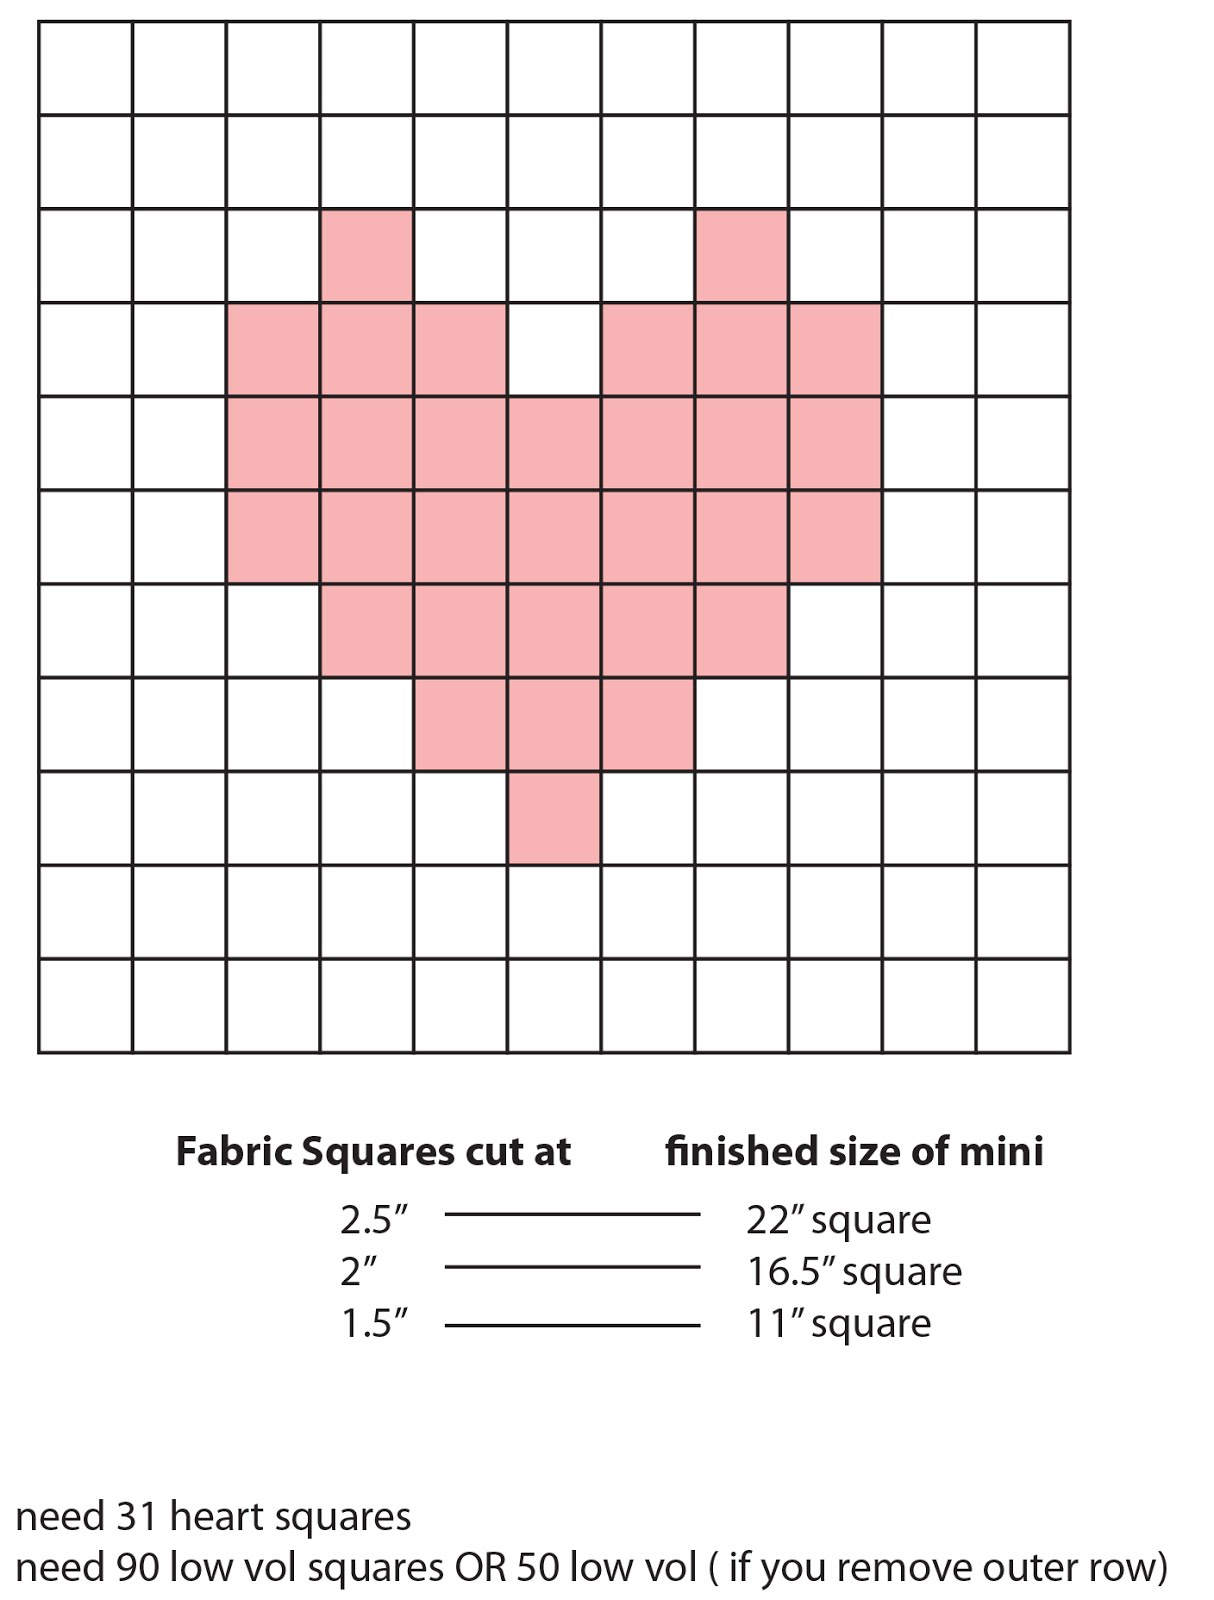
If you want to make a different sized mini, here's the math for you!


Pixelated Heart Mini Quilt - the math and diagram to make your own


Pixelated Heart Mini Quilt - with a link to the tutorial!


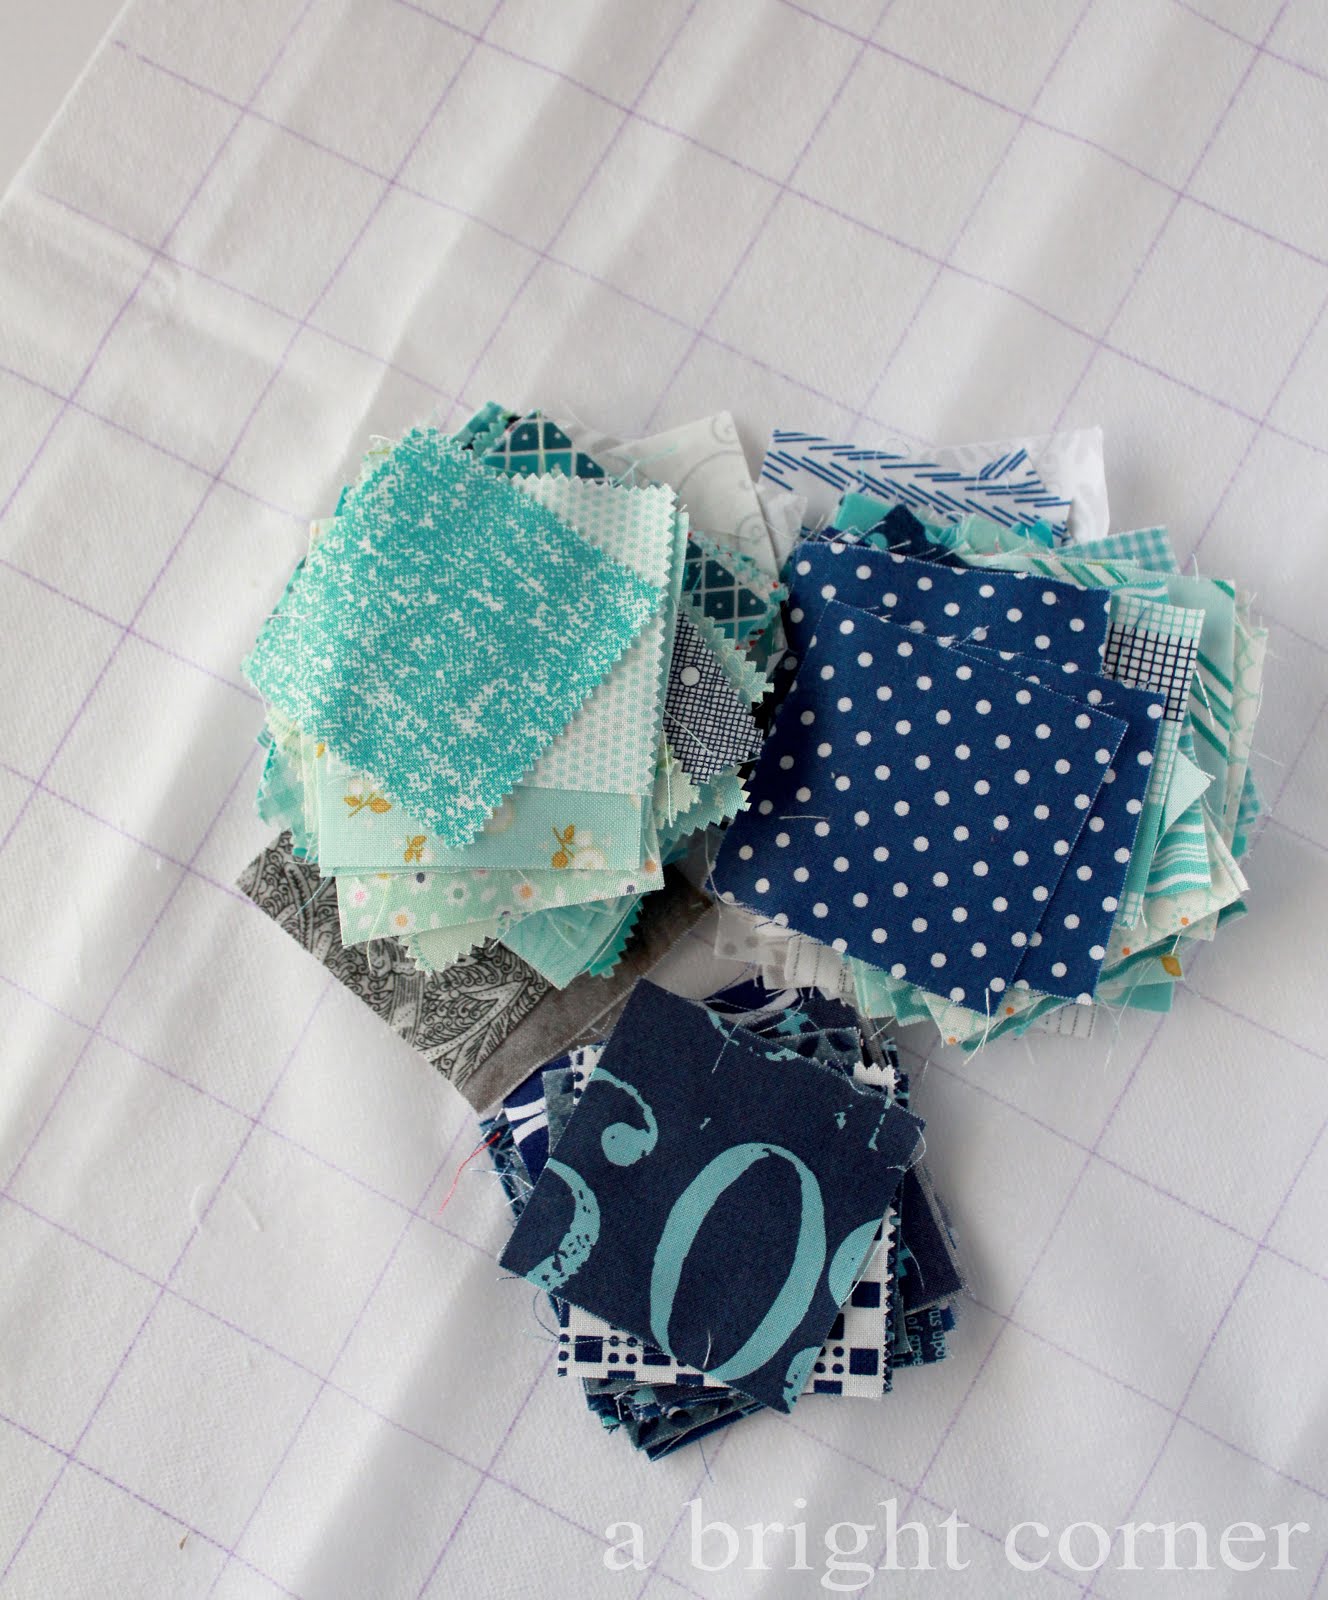
Now that you have figured out what size to make, and how many fabric squares you'll need, time to start cutting!  Cut the fabric squares the SAME SIZE as the grid you traced onto the interfacing. 

I went with a blue/green/aqua combo so it could stay on my wall all year 'round.  You'll need the most of the low-volume (or background) squares.  I did end up removing the outer row of background squares so I only needed 50.  And I tried to use each print only once, but I think a couple of duplicates slipped in there.

Use the diagram above to lay out your fabric squares in the shape of a heart.  Now just follow the original tutorial (here) to fuse everything down and then to sew your rows and columns together!

Pixelated Heart Mini Quilt - with a link to the tutorial!


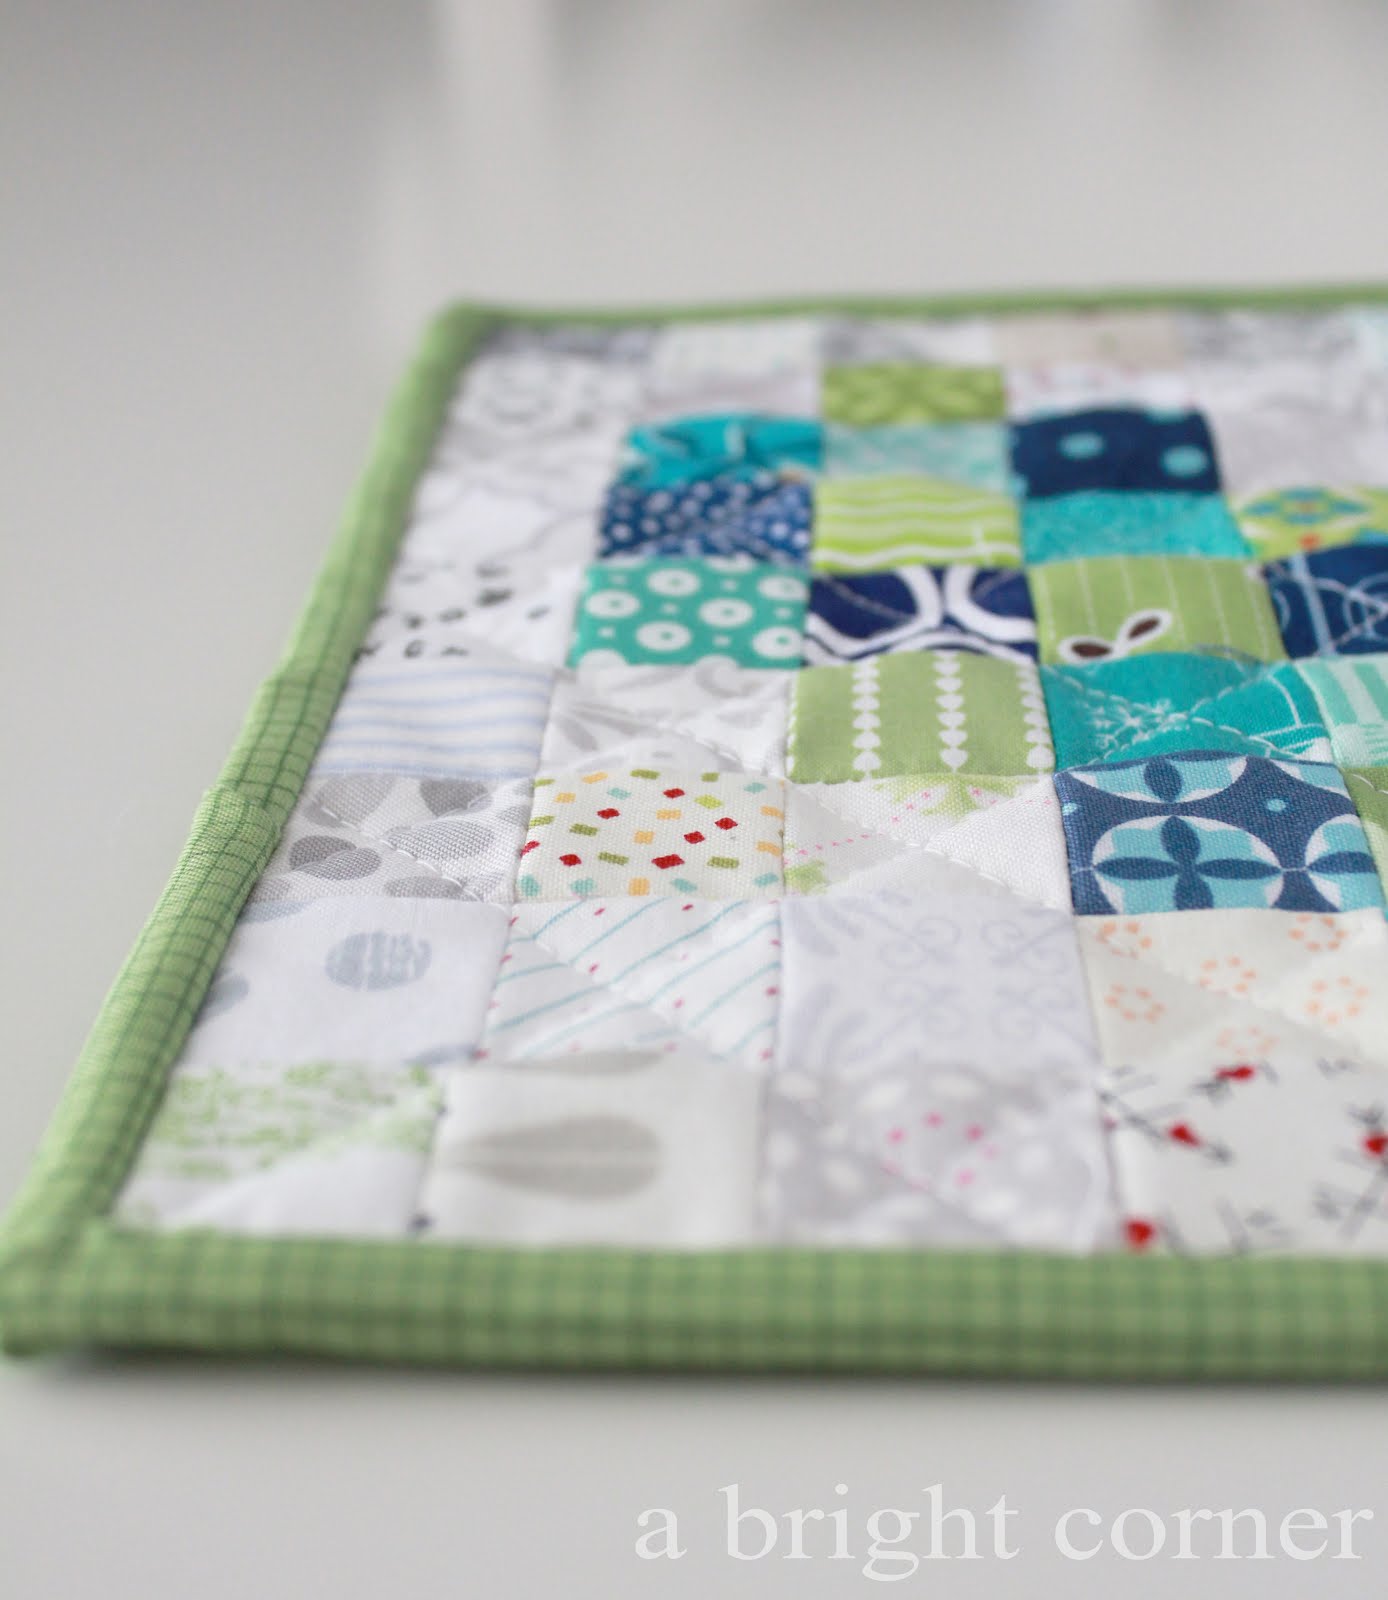
I quilted mine with some simple straight lines- nice and fast!  My new pixelated heart is up on my mini wall!  And my collection is growing - slowly.  What mini should I make next?  Do you have a favorite?

Wall of mini quilts


Monday, February 9, 2015

A Little Needle Book

After tackling some larger projects lately, I just felt like doing a little bit of small sewing.  So this weekend I made myself a little needle book.  I used the tutorial written by Amy Sinibaldi (Nana Company) – it’s a great one!

needle book

For the front cover I did a simple single hexagon that’s been topstitched in place.  It’s just okay.  It works.  But the back of the needle book is what I’m in love with!

needle book

The back is made of 12 (1.5”) little squares.  They’re sewed together into a tiny patchwork piece.

needle book

I don’t do a lot of small sewing but when I do I’m completely smitten by it.  Small things are just adorable. 

Needle book

Inside the book I have four “pages” to hold needles and pins.  I’ll add the rest of my needles when I get around to it, but for now I have just my favorites in there.  

needle book

That one needle on the right?  That’s my favorite binding needle.  She’s helped me bind countless quilts.  She’s fast and just the right size.  She and I work really well together.  I should give her a nickname.  What’s that you say?  It’s weird to name needles?  Ok never mind then. 
  needle book

This was a fun little project for me.  It was nice to do something different than my usual quilt tops.  I think I'll be making a few more needle books in the near future.  These would make such a nice little gift!


Friday, October 24, 2014

Scrappy Pumpkin table runner

Halloween is just a week away!  Every year I tell myself I’m going to pull out my Halloween décor the first week of October but then when the time comes, I don’t.  I just can’t bring myself to admit that it’s fall.  So here we are, on Oct 24th and not a bit of Halloween to be seen in my house!  Well, we do have two pumpkins on our front porch but that’s about it. 

So because of my Halloween décor procrastination, I decided to make a table runner that will work for both Halloween and Thanksgiving.  That way, I can use it now and leave it for another month.  Win/win.

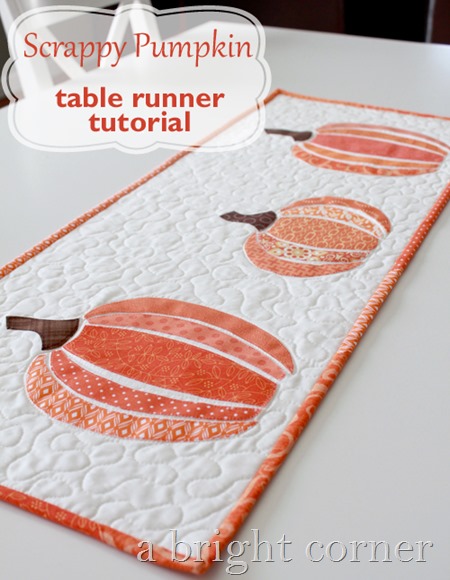
Scrappy Pumpkin table runner tutorial

This Scrappy Pumpkin table runner is a tutorial today over on the Therm O Web Blog (click on the photo to go to the tutorial).  It’s a great way to use up some of those scraps!  My orange scrap bin was a little lacking so I had to cut into my orange stash too.

To make the pumpkins there is a printable page as a part of the tutorial and you can just print that on to three sheets of HeatnBond EZ Print sheets straight from your computer’s printer.  Pretty nifty.  You CAN use regular HeatnBond Lite, but by using the EZ Print sheets you can skip the tracing step – my least favorite part of using fusible webbing. 

Scrappy Pumpkin Table Runner tutorial

I made this to fit on my little blue bookcase in my dining room.  I have a hard time deciding just what to put there sometimes. 

Scrappy binding

I think my favorite part of the runner is the scrappy binding!

scrappy pumpkin art

As I was first designing the table runner, I made one test block with a print as the background instead of the solid white.  I loved it so much I put it in a frame!  That background print is from the Flutter line of fabric designed by The Quilted Fish for Riley Blake.

Well, I guess I’d better go and get the rest of my Halloween decorations and just admit that it’s the end of October!


Wednesday, September 10, 2014

Making Progress

So this project is one that I started about four months ago and have been working on it slowly (SLOOOOO…WWW….LLLLY)  since then. 

These solid fabrics were sent to me by the lovely people at American Made Brand and I’ve enjoyed creating with them!  I just love the combination of vibrant solids with scrappy low volume prints so that’s what I’ve gone with for this project.  (You can see my first post about American Made Brand cotton solids here.)

  Bright squares quilt idea

Each 8.5” square has four (2.5”) squares of low volume inside.  Last night I was playing around with the layout and I think I’ve finally settled on this.  Whaddaya think?  Anything stand out to you in the picture above?

American Made Brand solids with low volume prints

The next step with this project is to create the sashings that will go between blocks.  I’ll be using more 2.5” squares of low volume along with some longer strips of low vol.  If I’ve done my math correctly (fingers crossed) I should have all of the low volume cut.  Now I just need to put in a good movie and get sewing!

stack of scrappy low volume squares


Sunday, May 4, 2014

Embellished Apron in a Jar

Hey friends!  Mother’s Day is this next Sunday - are you searching for gift ideas?  I have a great one for you that is easy to personalize and is semi-handmade.

How about an apron in a jar? 

Apron in a Jar tutorial

A couple of weeks ago I wrote a tutorial for the Therm o Web blog showing just how you can easily make an apron of your own.  Whip one up, add a favorite recipe to the jar (or some measuring spoons, or some favorite candy) and you’ll have a fast and easy, semi-handmade gift for the wonderful mothers in your life.


And here are a few more gift ideas!

Easy Hot Pad Tutorial

iPad Cover Tutorial

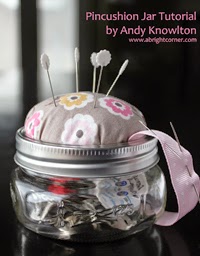
Pincushion Jar Tutorial

Sprouts Table Runner Pattern

Tuesday, April 1, 2014

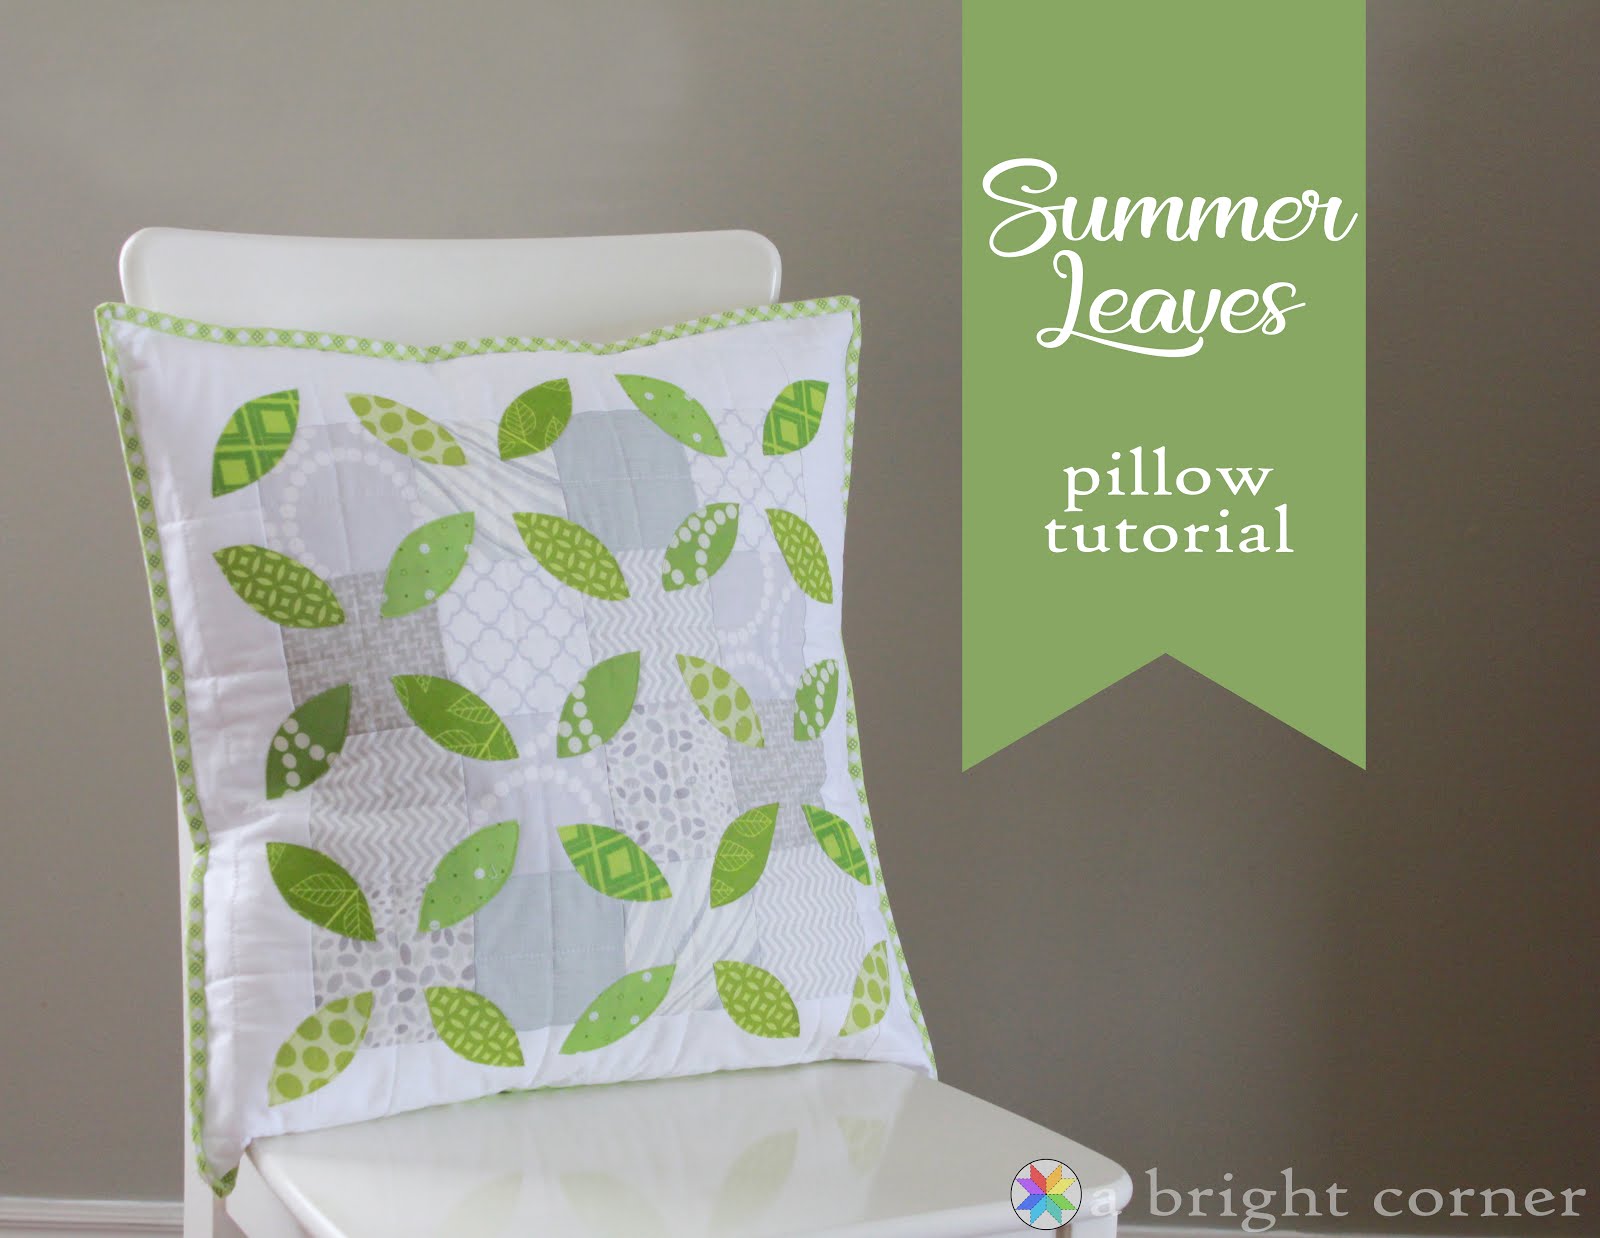
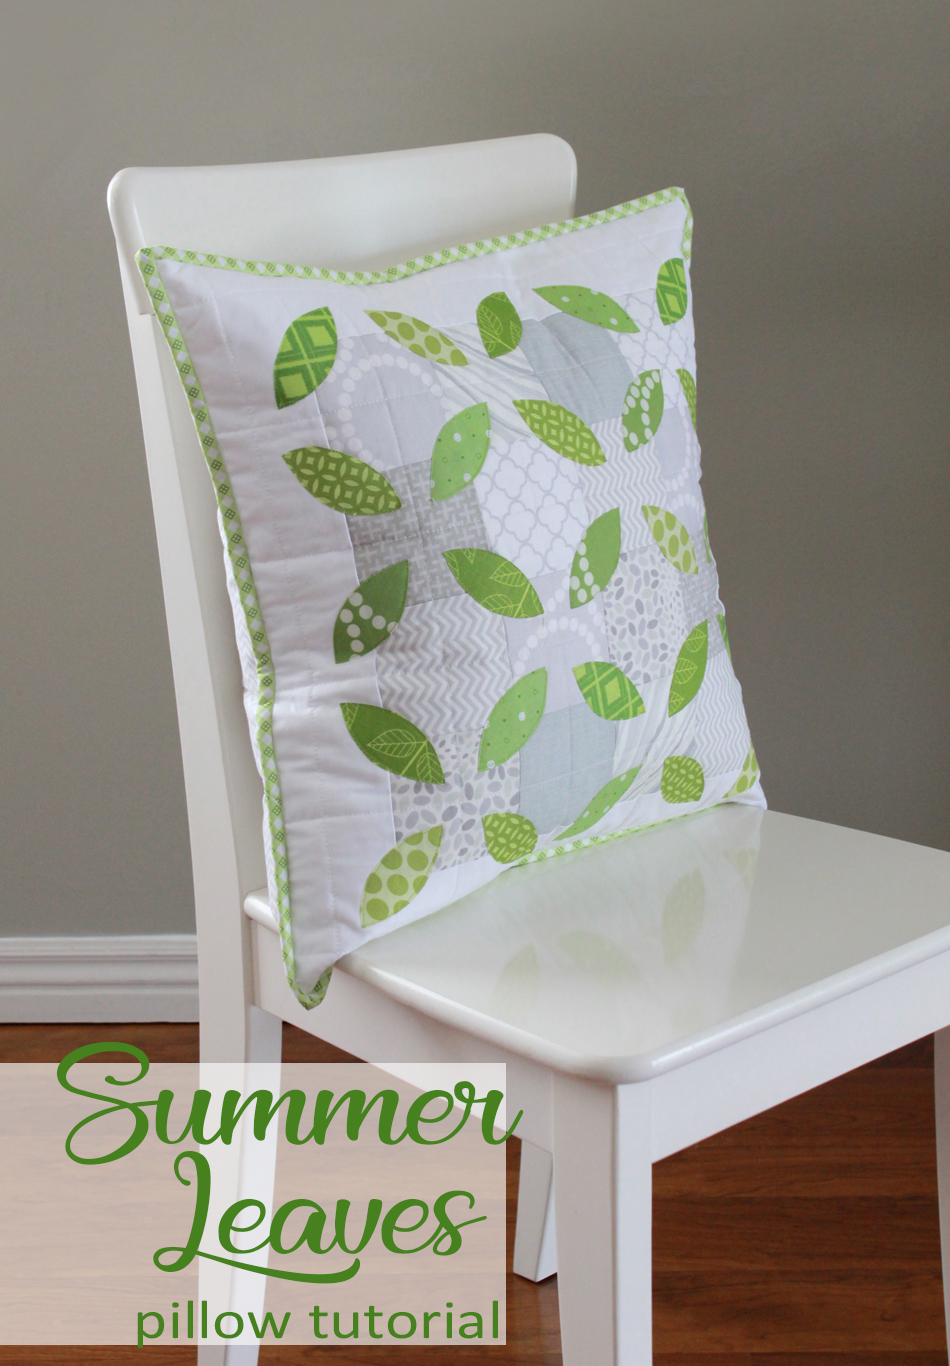
Summer Leaves Pillow Tutorial

Summer Leaves quilted pillow tutorial - fun spring pillow and a great way to use scraps.  Tutorial from Andy of A Bright Corner

Remember this pillow?  Well I couldn’t stop thinking about it.  So I made one for myself. 

Summer Leaves quilted pillow tutorial - fun spring pillow and a great way to use scraps.  Tutorial from Andy of A Bright Corner

She looks right at home, doesn’t she?

This pillow gives you a great excuse to pull out your scrap bins and dig through them.

Summer Leaves quilted pillow tutorial - fun spring pillow and a great way to use scraps.  Tutorial from Andy of A Bright Corner

  And guess what?  I have a tutorial for making this pillow up over on the Therm O Web blog!  I’m already planning on making another one of these pillows in the fall using some lovely fall-ish colors. 

Summer Leaves quilted pillow tutorial - fun spring pillow and a great way to use scraps.  Tutorial from Andy of A Bright Corner


Wednesday, March 5, 2014

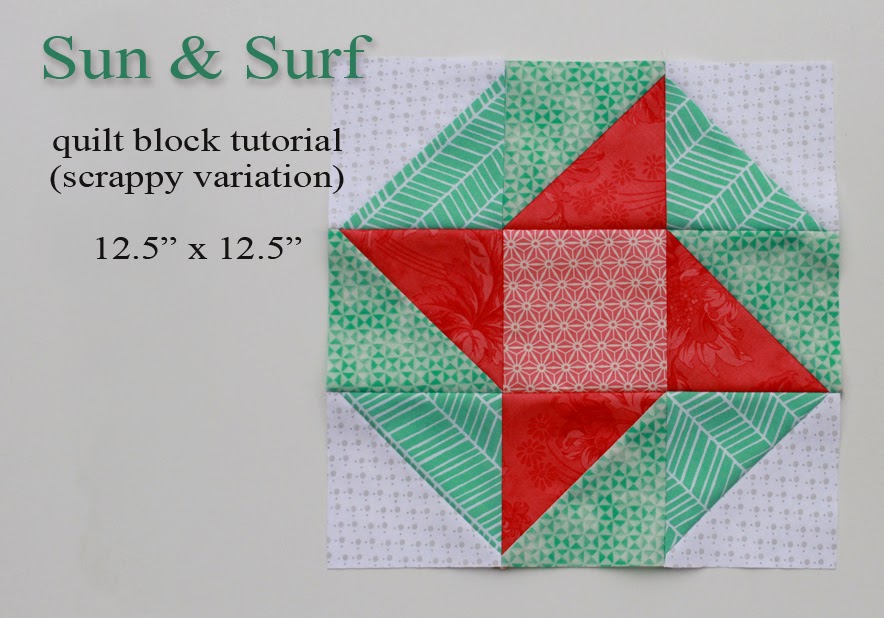
Sun and Surf - a quilt block tutorial

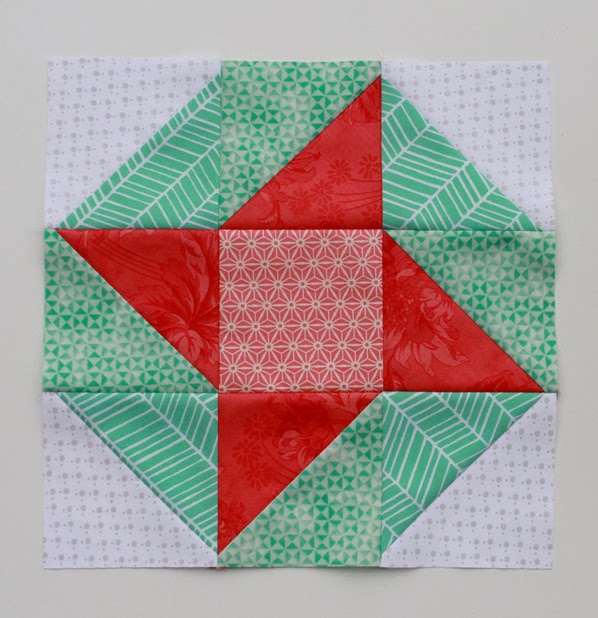
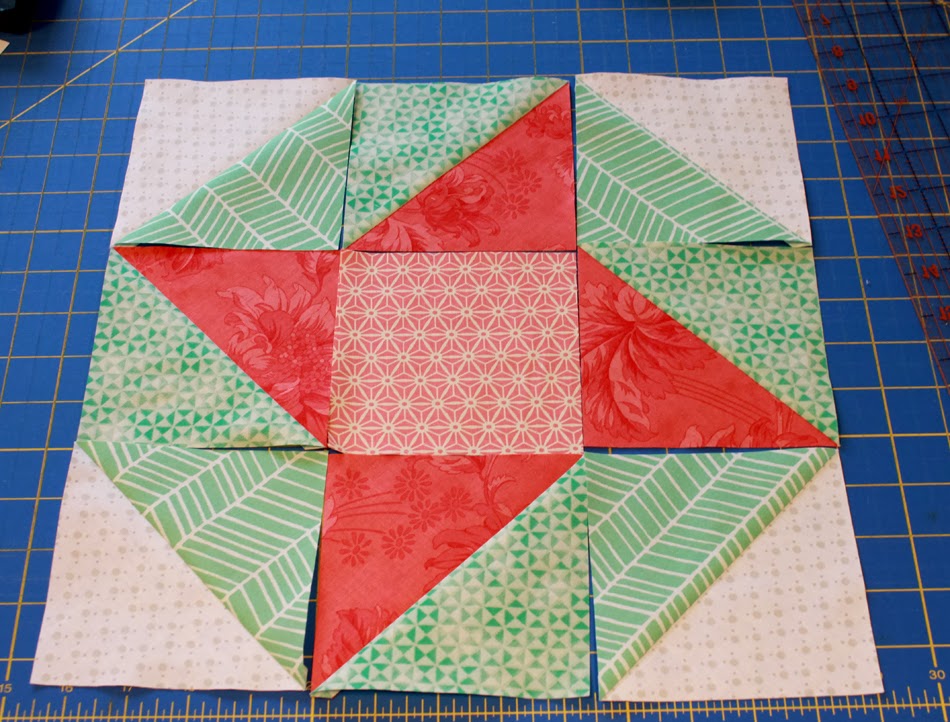
So for our Imagine at Do. Good Stitches group it's my turn again to choose a quilt block and color palette.  I chose this block - which in one of my quilting books is referred to as a "ribbon star" quilt block.  Another book calls it the "ribbon quilt" quilt block and yet another says that it is a combination of the "friendship star" and the "snowball" block.  So there you have it.  

Since this one is a scrappy version I'm calling it the "Sun and Surf" block.  


Sun and Surf scrappy quilt block tutorial via A Bright Corner

Recently I spent a bit time in the Bahamas and was inspired by the gorgeous colors found in not just the buildings but also in (yep you guessed it) the colors of the ocean and the gorgeous sunsets.

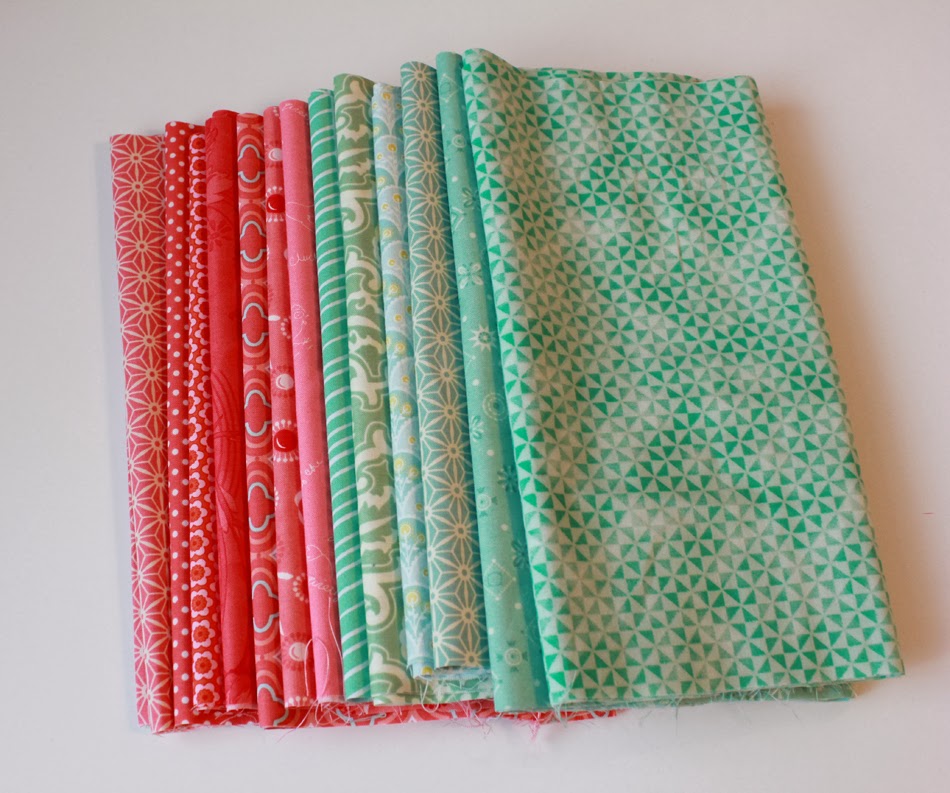
So we'll be working with all shades of coral and mint for this block. 


Coral and mint fabrics

Let's get started!
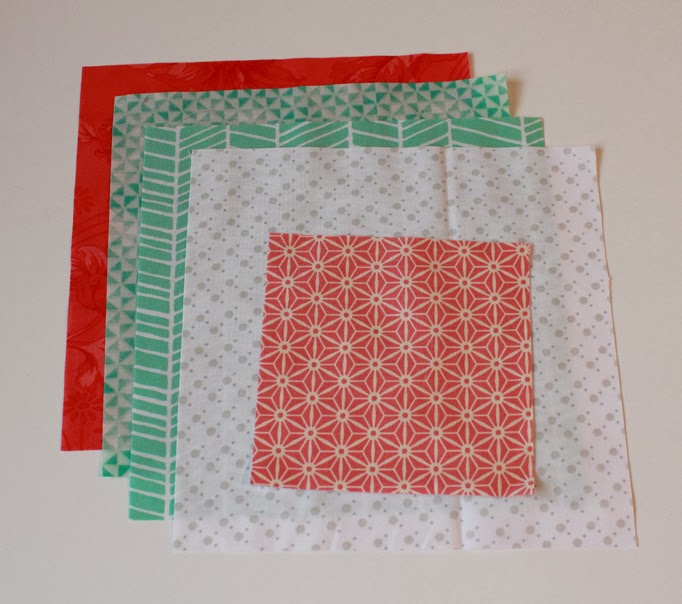
For one 12.5" x 12.5" block you will need:

1 @ 7.25" of low volume fabric
1 @ 7.25" of a coral print
2 @ 7.25" of mint prints
1 @ 4.5" of a coral print

Sun and Surf scrappy quilt block tutorial via A Bright Corner


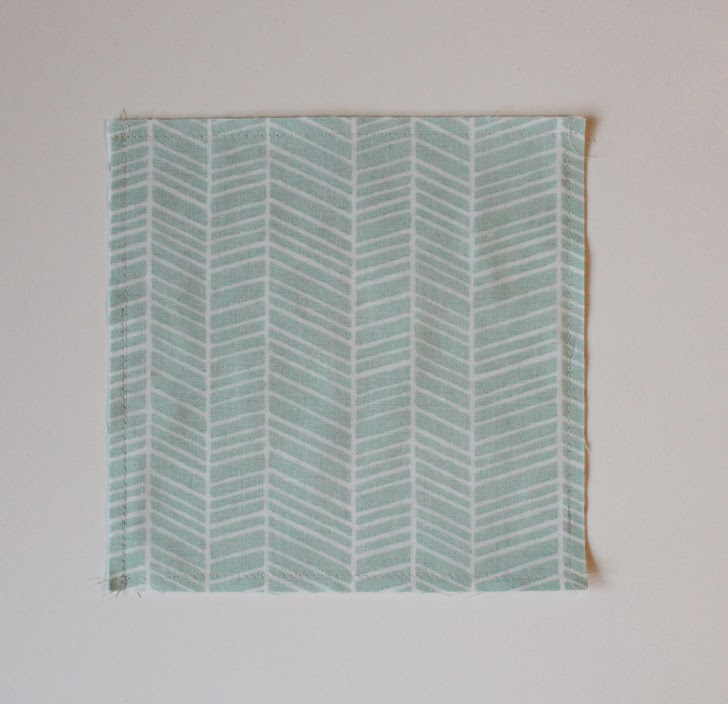
Step 1:  Place the 7.25" low volume square right sides together with one 7.25" mint square.  Match edges.  Sew around all four sides of the square using a 1/4" seam.

Sun and Surf scrappy quilt block tutorial via A Bright Corner


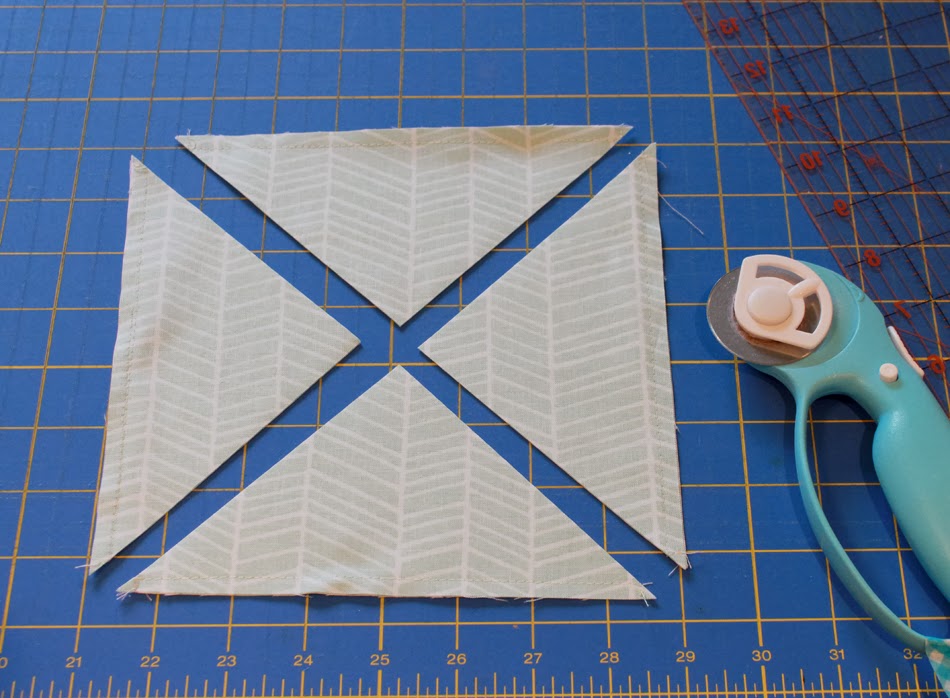
Step 2:  Press so it lays nice and flat.  Then cut diagonally across squares twice.  This creates four half square triangles.


Sun and Surf scrappy quilt block tutorial via A Bright Corner

Step 3:  Repeat steps 1-2 using one 7.25" mint square and one 7.25" coral square.

Step 4:  You should now have a total of eight half square triangles.  Press all HSTs open and trim to be 4.5". 

Sun and Surf scrappy quilt block tutorial via A Bright Corner


Step 5:  Using all HSTs and the 4.5" square coral print, lay out block as shown below.  

Sun and Surf scrappy quilt block tutorial via A Bright Corner

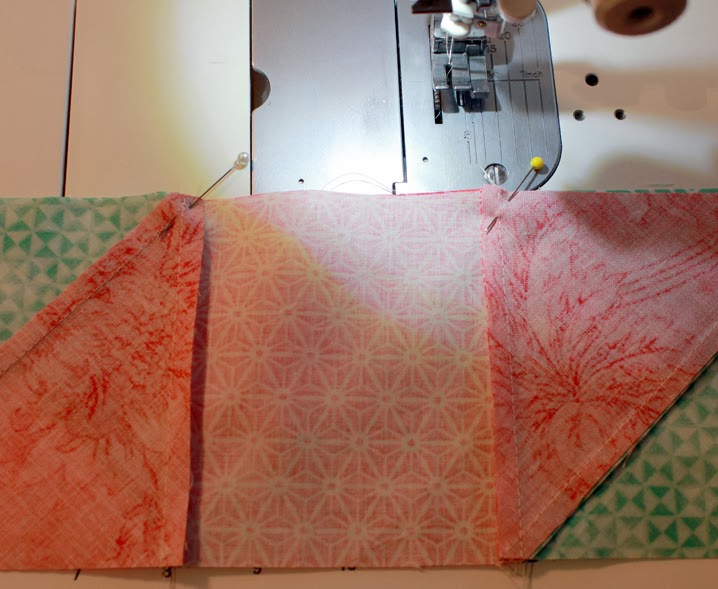
Step 6:  Sew block rows together using a scant 1/4" seam.  Press seams.  Sew rows together, pinning at each intersection (again using a scant 1/4" seam).

Sun and Surf scrappy quilt block tutorial via A Bright Corner


Press the finished block.  

Sun and Surf scrappy quilt block tutorial via A Bright Corner


There you go!  One finished 12.5" x 12.5" Sun & Surf scrappy quilt block.  If you make a Sun & Surf block I'd love to see it!  And if you're on flickr be sure to add it to the Sewing with A Bright Corner flickr group.


Related Posts Plugin for WordPress, Blogger...